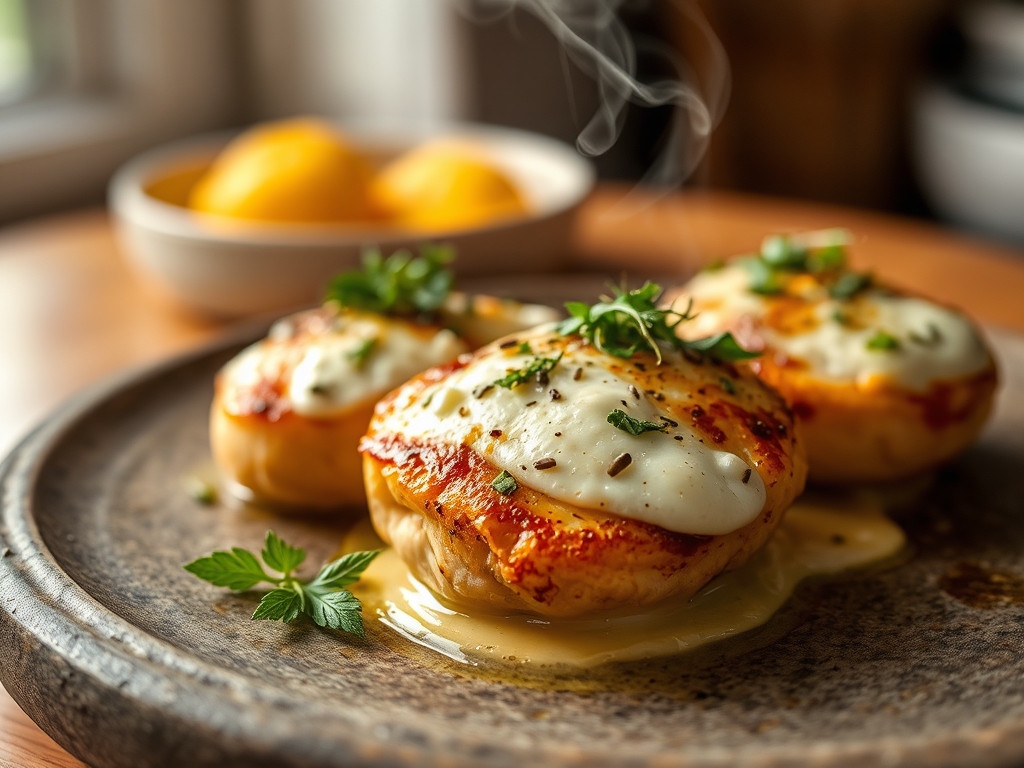
The scent of seared poultry hitting a hot pan is the universal siren song of a home cook who knows exactly what she is doing. When you are craving the comfort of minute rice and chicken recipes, you are not just looking for speed; you are looking for that perfect intersection of fluffy grain and succulent protein. It is about the science of a quick dinner that tastes like a slow-cooked masterpiece.
Imagine walking into your kitchen after a long day and knowing that a five-star meal is less than twenty minutes away. We are talking about golden-brown thighs, aromatic herbs, and rice that has absorbed every drop of savory broth. This is not just assembly; it is culinary architecture. By understanding how to manipulate heat and moisture, you can transform humble pantry staples into a dinner that feels intentional, sophisticated, and deeply satisfying.
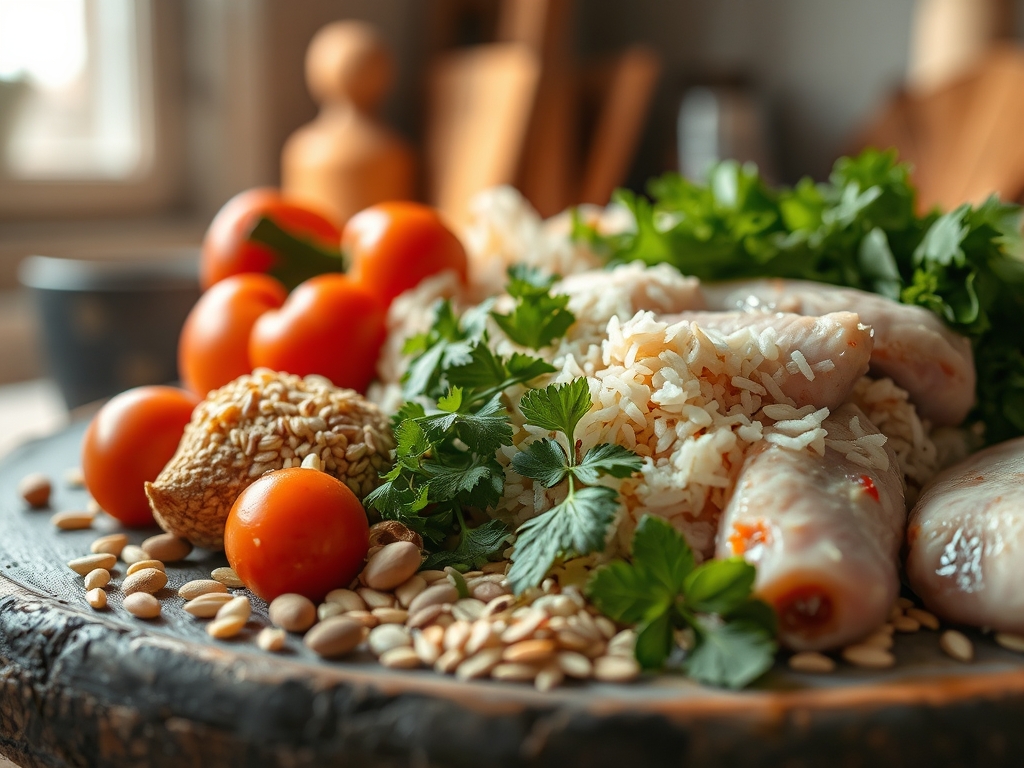
The Gathers:
To achieve a professional result, your mise-en-place must be precise. Start with high-quality chicken thighs or breasts, patted dry with paper towels to ensure a crisp exterior. For the rice, use a pre-steamed, dehydrated variety that rehydrates in a 1:1 ratio with liquid. You will need a viscous chicken stock, fresh aromatics like garlic and shallots, and a high-smoke-point fat like avocado oil or clarified butter.
Smart Substitutions: If you are out of fresh garlic, use a high-quality garlic paste or even a dash of garlic oil to infuse the dish with flavor. Swap chicken stock for a mushroom dashi if you want a deeper, earthier profile. If you find your pantry lacks minute rice, you can use pre-cooked frozen rice, though you will need to adjust your liquid ratios to prevent the dish from becoming sodden. Always keep a microplane nearby to zest lemon or grate fresh ginger at the last second for a piquant finish.
The Clock
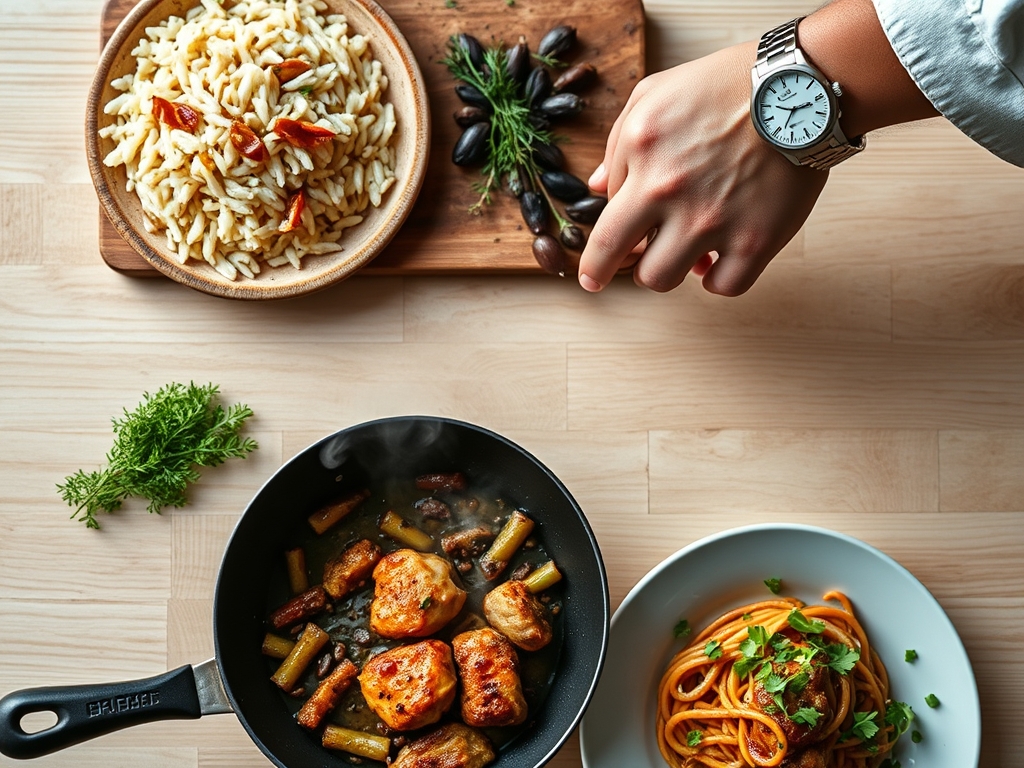
Efficiency in the kitchen relies on what professionals call "Chef's Flow." This is the sequence of operations that minimizes downtime. Your total prep time should be exactly eight minutes if your knife skills are sharp. The cooking process for these minute rice and chicken recipes typically spans twelve to fifteen minutes.
The flow begins with the protein. While your heavy-bottomed skillet preheats, you chop your aromatics. The chicken hits the pan first because it requires the most thermal energy to render fat and develop a crust. While the chicken rests, the rice utilizes the residual heat and the flavorful fond left in the pan. This overlapping timeline ensures that every component reaches its peak temperature simultaneously.
The Masterclass
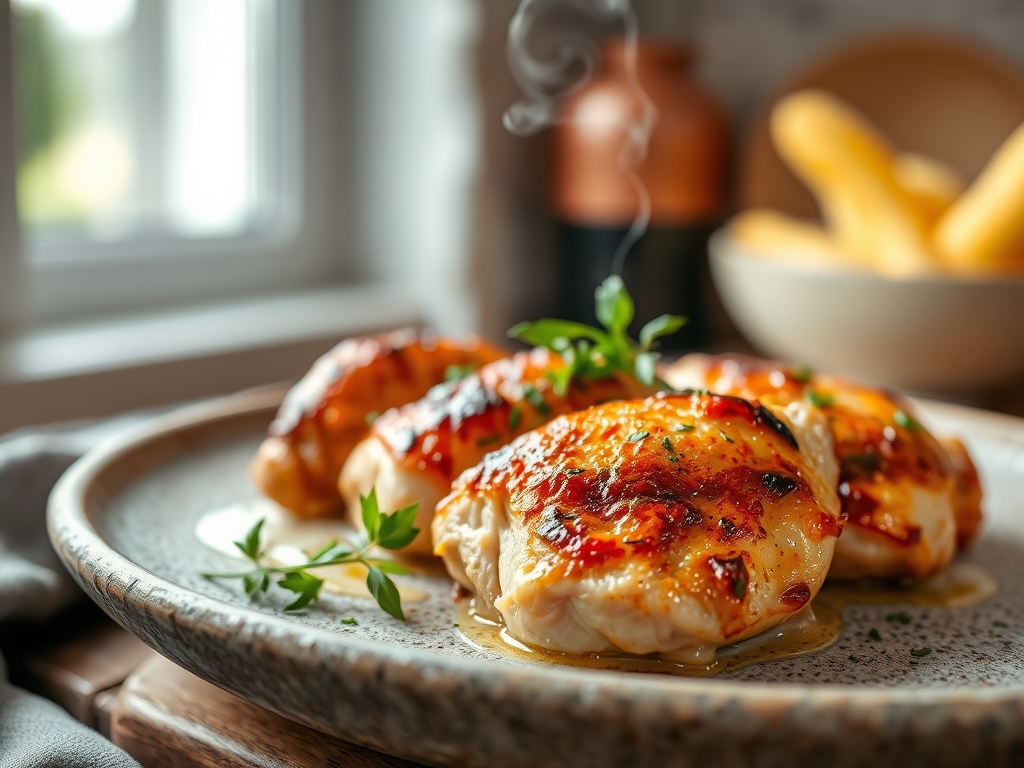
1. The Sear and Render
Place your seasoned chicken skin-side down in a hot pan. Do not move it. You are waiting for the Maillard reaction, a chemical dance between amino acids and reducing sugars that creates that iconic savory crust. Use tongs to check for release; if the meat sticks, the crust has not fully formed yet.
Pro Tip: This is about thermal conductivity. Using a cast iron or stainless steel pan allows for better heat retention, ensuring the chicken sears rather than steams in its own juices.
2. Deglazing the Fond
Once the chicken is removed, you will see brown bits stuck to the bottom of the pan. This is "fond," the concentrated essence of flavor. Pour in a splash of dry white wine or stock and use a bench scraper or wooden spoon to lift those bits.
Pro Tip: Deglazing is a solvent-based extraction. The liquid dissolves the caramelized proteins, creating a complex base for your rice to absorb.
3. Aromatics and Infusion
Add your minced shallots and garlic to the shimmering fat. Sauté only until translucent and fragrant. This is where you infuse the fat with volatile aromatic compounds before adding the rice.
Pro Tip: Fat is a flavor carrier. By sautéing aromatics first, you are ensuring the fat-soluble flavor molecules are evenly distributed throughout the entire dish.
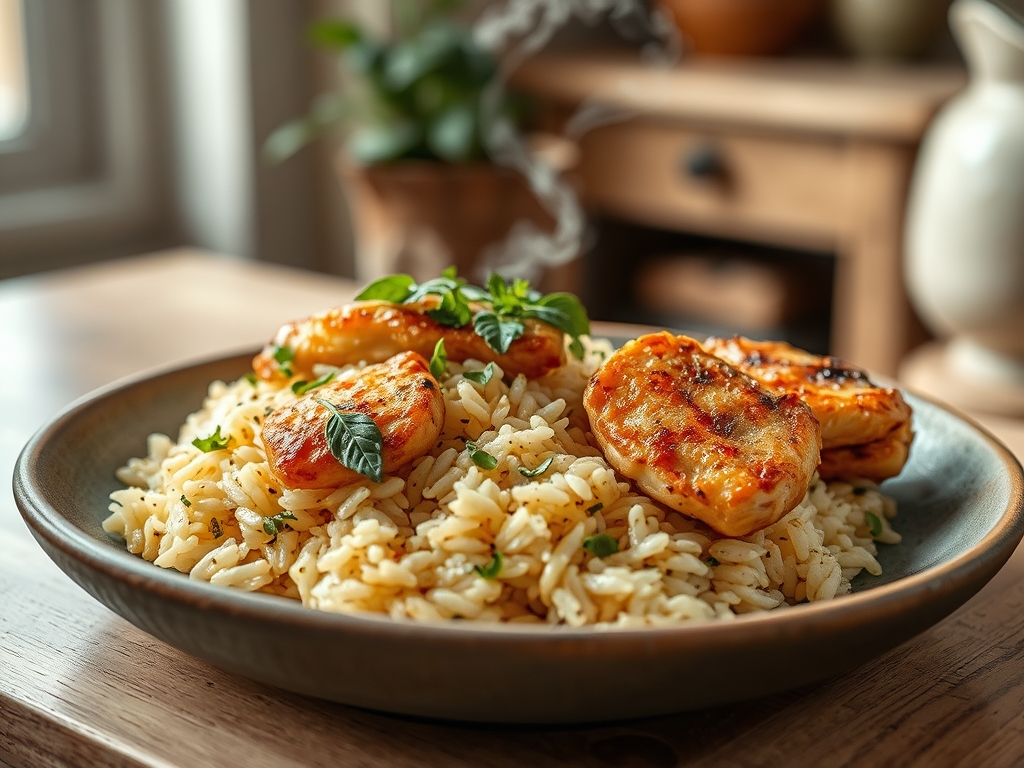
4. The Hydration Phase
Add your minute rice and liquid. Stir once to ensure even distribution and then cover the pan. The rice will absorb the liquid through capillary action, swelling into tender grains.
Pro Tip: Maintain a tight seal with a lid to utilize steam pressure. This ensures the rice rehydrates uniformly without the bottom scorching.
5. The Emulsification Finish
Once the rice has absorbed the liquid, stir in a cold pat of butter or a splash of heavy cream. This creates a silkier mouthfeel and a glossy appearance.
Pro Tip: This is a physical emulsification. The fat droplets are suspended in the remaining moisture, creating a sauce that clings to the rice grains.
6. The Rest and Carryover
Return the chicken to the top of the rice, cover, and let it sit off the heat for three minutes. This allows the internal juices of the chicken to redistribute.
Pro Tip: Thermal carryover means the chicken continues to cook slightly after being removed from the heat. Resting prevents the juices from rushing out when you finally slice into it.
The Deep Dive
From a nutritional standpoint, these minute rice and chicken recipes are a powerhouse. A standard serving provides roughly 35 grams of protein and 40 grams of complex carbohydrates. To keep it Keto, swap the rice for riced cauliflower and reduce the liquid by half. For a Vegan twist, use chickpeas and a rich vegetable bouillon. If you are Gluten-Free, simply ensure your chicken stock is certified.
The Fix-It:
- Mushy Rice: You used too much liquid. Next time, use a digital scale to measure your rice and water precisely. Fix it now by uncovering the pan and increasing the heat for sixty seconds to evaporate excess moisture.
- Bland Chicken: You didn't season early enough. Salt needs time to penetrate the muscle fibers. Fix it by finishing with a sprinkle of flaky sea salt or a squeeze of lemon.
- Burnt Bottom: Your heat was too high during the hydration phase. Fix it by scraping the unburnt rice into a saucier and adding a tablespoon of water to finish steaming.
Meal Prep Science: To maintain "day-one" quality, store the chicken and rice in airtight containers. When reheating, add a teaspoon of water and cover with a damp paper towel. This creates a localized steam environment in the microwave, preventing the rice from becoming brittle and the chicken from turning rubbery.
The Wrap-Up
Mastering minute rice and chicken recipes is about more than just a quick fix; it is about respecting the ingredients and the physics of the pan. When you combine the crisp texture of perfectly seared poultry with the aromatic fluffiness of well-hydrated rice, you are serving a meal that is both smart and soulful. Go ahead and grab your favorite skillet; dinner is served.
The Kitchen Table
How do I keep the chicken from getting dry?
Use a digital thermometer to pull the chicken at 160 degrees Fahrenheit. The thermal carryover will bring it to the safe 165 mark while it rests, ensuring the fibers remain hydrated and tender rather than stringy.
Can I use brown minute rice instead?
Yes, but check the packaging for liquid ratios. Brown rice often requires a slightly longer hydration period and more liquid because the bran layer acts as a barrier to moisture absorption compared to white rice.
What is the best pan for this recipe?
A heavy-bottomed skillet or a stainless steel sauté pan is ideal. These tools provide even heat distribution, which is essential for achieving the Maillard reaction on the chicken without burning the delicate aromatics or the rice.
How do I add more flavor to the rice?
Instead of plain water, use a high-quality bone broth or coconut milk. You can also toast the dry rice in the pan for sixty seconds before adding liquid to create a nuttier, more complex flavor profile.