Imagine the scent of a heavy bottomed skillet hitting its smoke point; the air fills with that primal, savory aroma of searing protein. We often associate that deep, umami satisfaction with a heavy hand of salt, but I am here to tell you that salt is just a loud neighbor taking credit for the work of others. Mastering low sodium beef recipes is not about deprivation; it is about reclaiming the intricate, grassy, and metallic notes of high quality beef that sodium usually masks. We are going to use molecular shortcuts to trick your palate into experiencing full flavored bliss without the water retention or blood pressure spikes.
The Gathers:
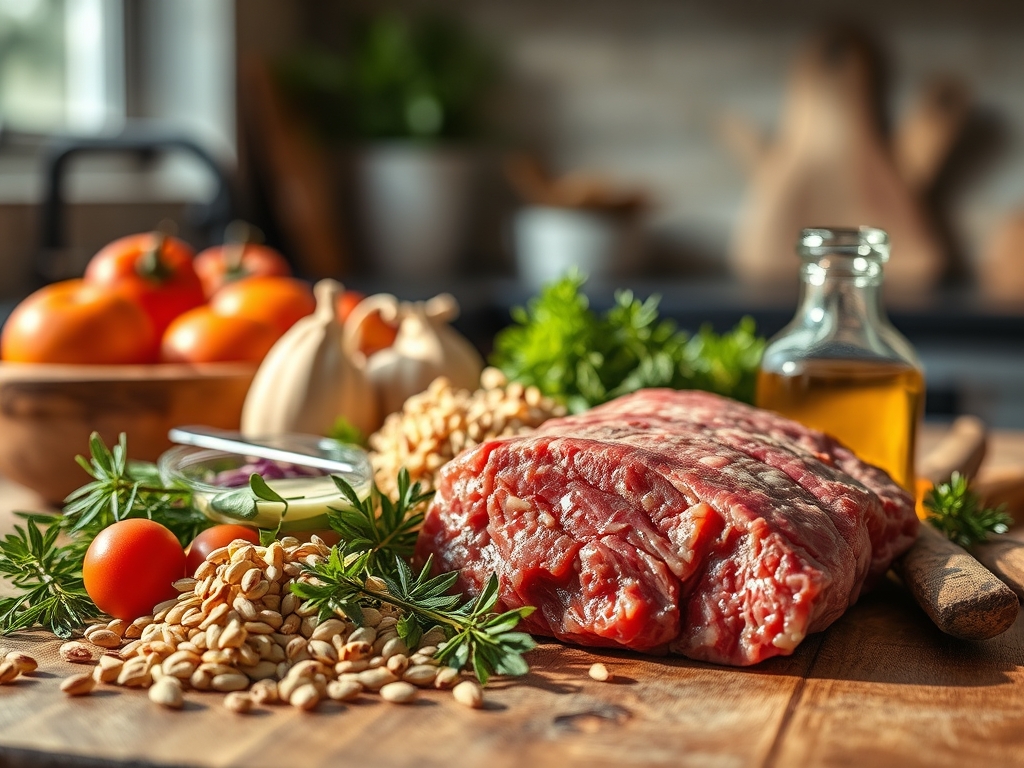
To begin our culinary transformation, we must assemble a mise en place that prioritizes aromatic density over mineral salinity. Start with your protein: look for grass fed cuts like flank or top round, which possess a more complex fat profile than grain fed counterparts. You will need a digital scale to ensure portion precision, as weight directly impacts cooking surface contact.
Our "Smart Substitutions" are the stars here. Instead of table salt, reach for liquid aminos or a high quality balsamic glaze to provide a viscous, piquant base. Gather fresh aromatics: garlic bulbs, shallots, and ginger roots. We will also use "acid triggers" like lemon zest and apple cider vinegar. These acids brighten the flavor profile, mimicking the tongue tingling sensation of salt. Finally, grab your microplane; we will use it to aerate hard spices and citrus, maximizing the surface area of our flavor compounds.
The Clock:
Efficiency in the kitchen is all about the "Chef's Flow." For these low sodium beef recipes, expect a total commitment of 45 minutes. The breakdown is as follows: 15 minutes for precision prep (slicing against the grain and zesting) and 30 minutes for the actual thermal application and resting.
The "Flow" dictates that you prep your aromatics while the beef tempers on the counter. Never cook beef straight from the fridge; cold proteins cause the pan temperature to plummet, resulting in gray, steamed meat instead of a crusty sear. By the time your heavy bottomed skillet is shimmering, your ingredients should be lined up in order of their heat tolerance.
The Masterclass:
1. The Temper and Pat
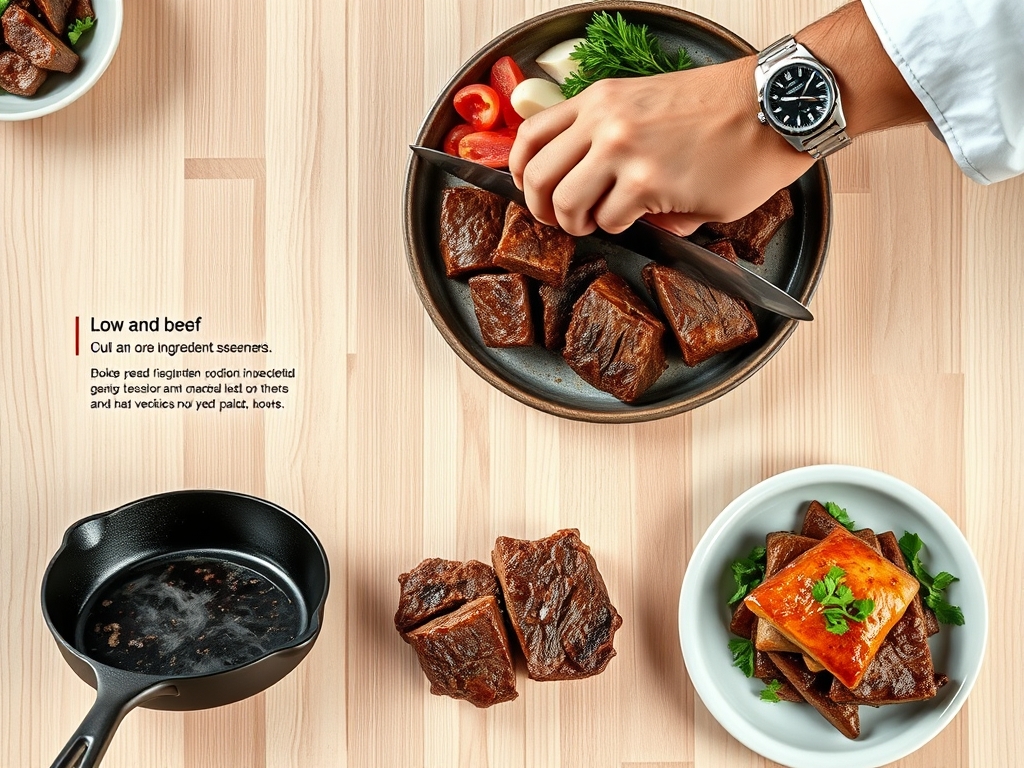
Before the beef touches the heat, use paper towels to remove every trace of surface moisture. Moisture is the enemy of the Maillard reaction. If the surface is damp, the energy of the pan goes into boiling water rather than browning the meat.
Pro Tip: This is known as preventing evaporative cooling. By ensuring a dry surface, you allow the surface temperature to exceed 300 degrees Fahrenheit almost instantly, triggering the chemical reaction between amino acids and reducing sugars that creates hundreds of flavor compounds.
2. The High Heat Sear
Place your skillet over medium high heat until a drop of water dances and evaporates instantly. Use stainless steel tongs to lay the beef away from you. Do not crowd the pan; work in batches if necessary to maintain consistent thermal mass.
Pro Tip: This stage relies on conduction. Using a heavy bottomed skillet (like cast iron or tri-ply stainless steel) ensures even heat distribution, preventing "cold spots" that lead to uneven protein coagulation.
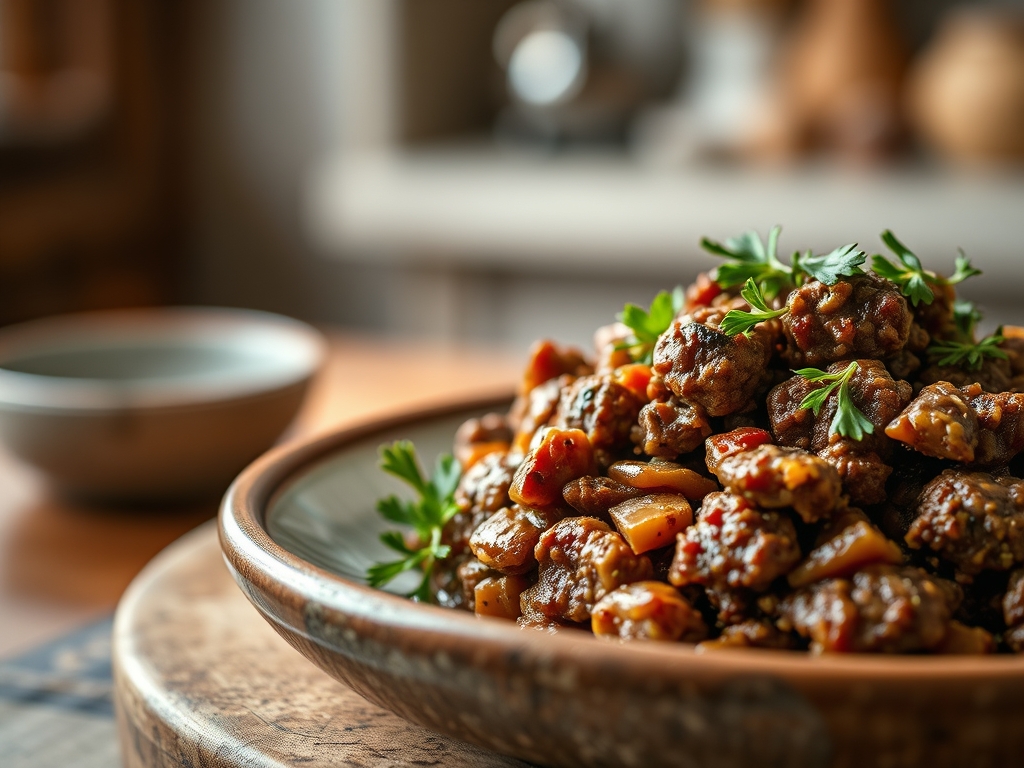
3. The Deglaze and Infuse
Once a brown crust (fond) has formed on the bottom of the pan, pour in a splash of low sodium beef stock or red wine vinegar. Use a wooden spoon or a bench scraper to loosen those caramelized bits. This is where the soul of the dish lives.
Pro Tip: This process is called deglazing. The liquid acts as a solvent, dissolving the concentrated sugars and proteins stuck to the pan, creating a rich, savory base without the need for added sodium.
4. The Aromatic Bloom
Push the beef to the edges and drop your minced garlic, ginger, and shallots into the center. Add a teaspoon of neutral oil if the pan looks dry. Sauté only until fragrant, about 45 seconds.
Pro Tip: This is fat soluble flavor extraction. Many of the aromatic compounds in garlic and spices are hydrophobic, meaning they release their full potential into fats rather than water.
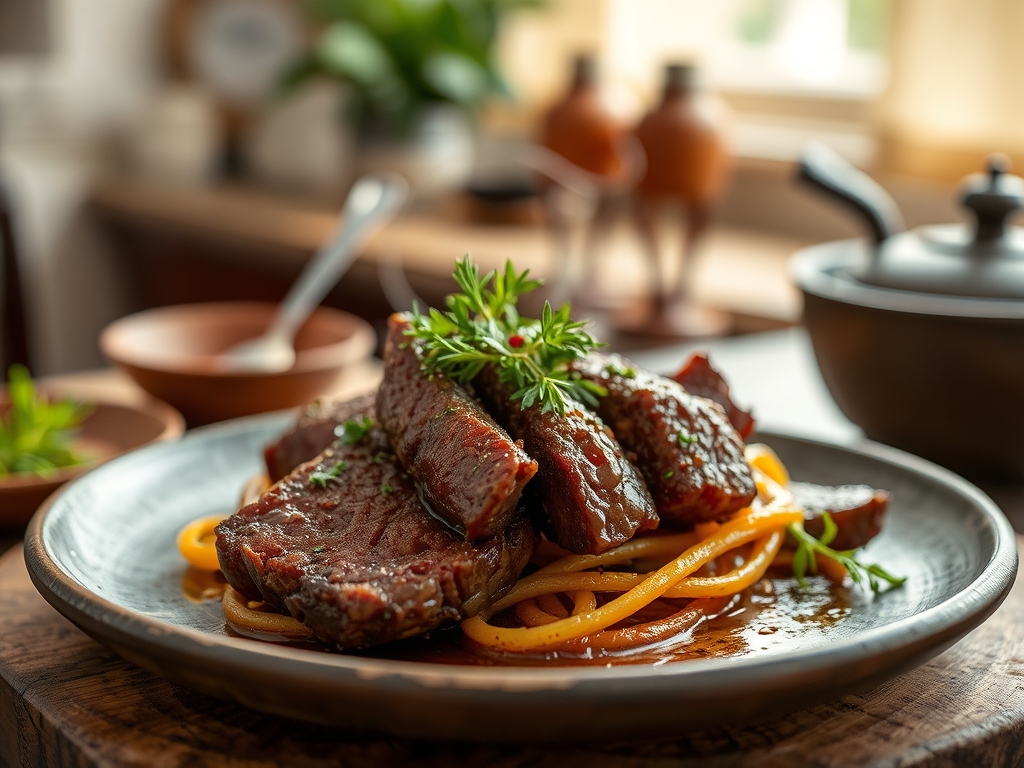
5. The Acid Finish
Just before removing the pan from the heat, squeeze fresh lime juice or add a teaspoon of rice vinegar. This "brightening" step provides a sharp contrast to the rich fats of the beef.
Pro Tip: Acid acts as a flavor enhancer by stimulating the salivary glands. This increased salivation helps transport flavor molecules to your taste buds more efficiently, a technical "workaround" for the lack of salt.
6. The Rest and Carryover
Transfer the beef to a warm plate and tent it loosely with foil. Let it sit for at least five to seven minutes before slicing.
Pro Tip: This accounts for thermal carryover. The internal temperature will continue to rise by 5 degrees while resting. More importantly, resting allows the muscle fibers to relax and reabsorb the juices, ensuring the moisture stays in the meat rather than running off onto your cutting board.
The Deep Dive:
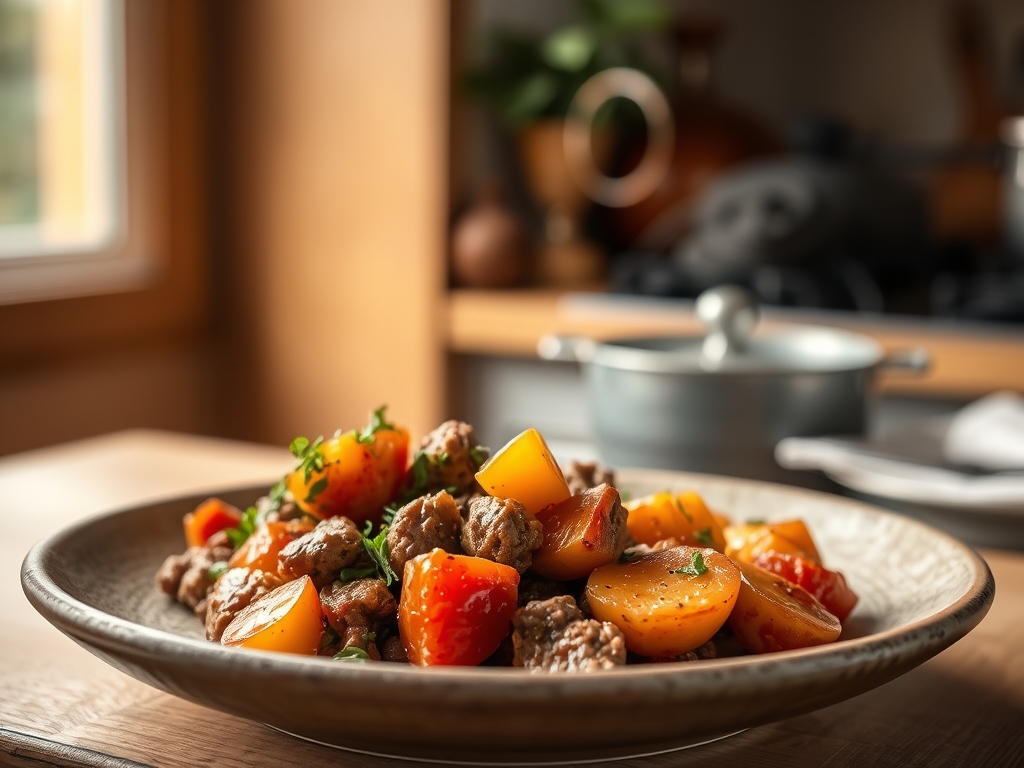
From a macro perspective, these low sodium beef recipes are powerhouses. A 4 ounce serving typically yields 25g of protein with less than 100mg of sodium, depending on your choice of aromatics.
Dietary Swaps: For a Keto version, ensure your deglazing liquid is a dry wine rather than a balsamic glaze to keep sugars low. For a Vegan twist, swap the beef for thick "steaks" of lion's mane mushrooms; they contain similar umami markers and respond beautifully to the same searing techniques.
The Fix-It:
- The Meat is Tough: You likely sliced with the grain. Always slice perpendicular to the muscle fibers to shorten them.
- The Flavor is Flat: You need more acid. Add another splash of vinegar or a hit of citrus zest.
- The Pan is Burning: Your heat is too high for the oil's smoke point. Deglaze immediately with water or stock to lower the temperature.
Meal Prep: When reheating, avoid the microwave, which turns beef into rubber by vibrating water molecules too violently. Instead, use a saucier over low heat with a tablespoon of stock to gently "steam-heat" the beef, preserving the cellular structure.
The Wrap-Up:
You now have the technical blueprint to create world class, low sodium beef recipes that would make a Michelin chef nod in approval. By focusing on the Maillard reaction, aromatic blooming, and acid balancing, you have bypassed the need for the salt shaker entirely. Remember, cooking is a series of chemical transitions; master the heat, and the flavor will follow. Now, get into that kitchen and show that skillet who is boss!
The Kitchen Table:
How can I make beef taste salty without salt?
Use "umami bombs" like roasted garlic, nutritional yeast, or mushroom powder. These ingredients contain natural glutamates that trigger the same savory receptors on your tongue as sodium, providing a rich, satisfying depth of flavor without the salt.
What is the best cut for low sodium beef recipes?
Opt for lean cuts like sirloin tip, flank steak, or round roast. These cuts have a robust "beefy" flavor that stands up well to strong aromatics and acidic marinades, ensuring the dish tastes vibrant even without added minerals.
Does marinating help reduce the need for salt?
Absolutely. Marinating with citrus, vinegar, and herbs allows flavors to penetrate the muscle fibers deeply. This ensures that every bite is infused with aromatics, making the absence of salt far less noticeable to your palate.
Can I use frozen beef for these recipes?
Yes, but thaw it completely in the refrigerator first. Pat it extremely dry with paper towels before cooking. Any residual ice crystals will turn to steam in the pan, preventing the Maillard reaction and ruining the texture.