Imagine the crisp snap of a golden skin giving way to a center so creamy it feels like pure velvet. When you dive into the world of small yukon gold potato recipes, you are not just cooking; you are engineering the perfect balance of starch and moisture. These buttery gems are the crown jewels of the root vegetable world.
The Gathers:
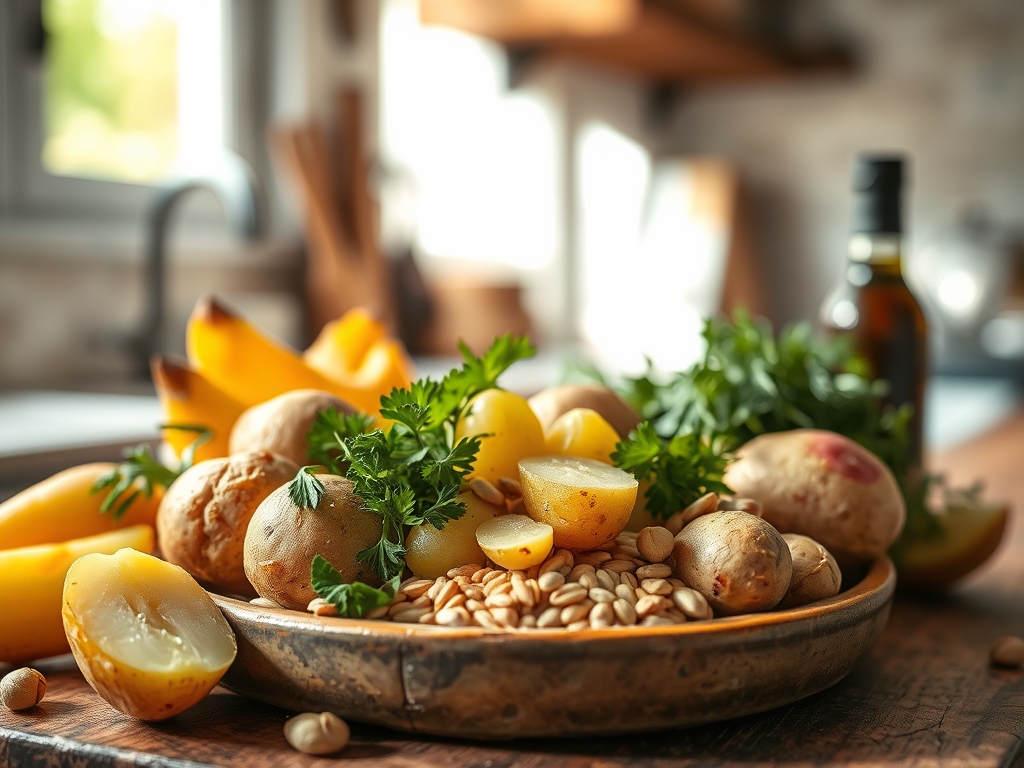
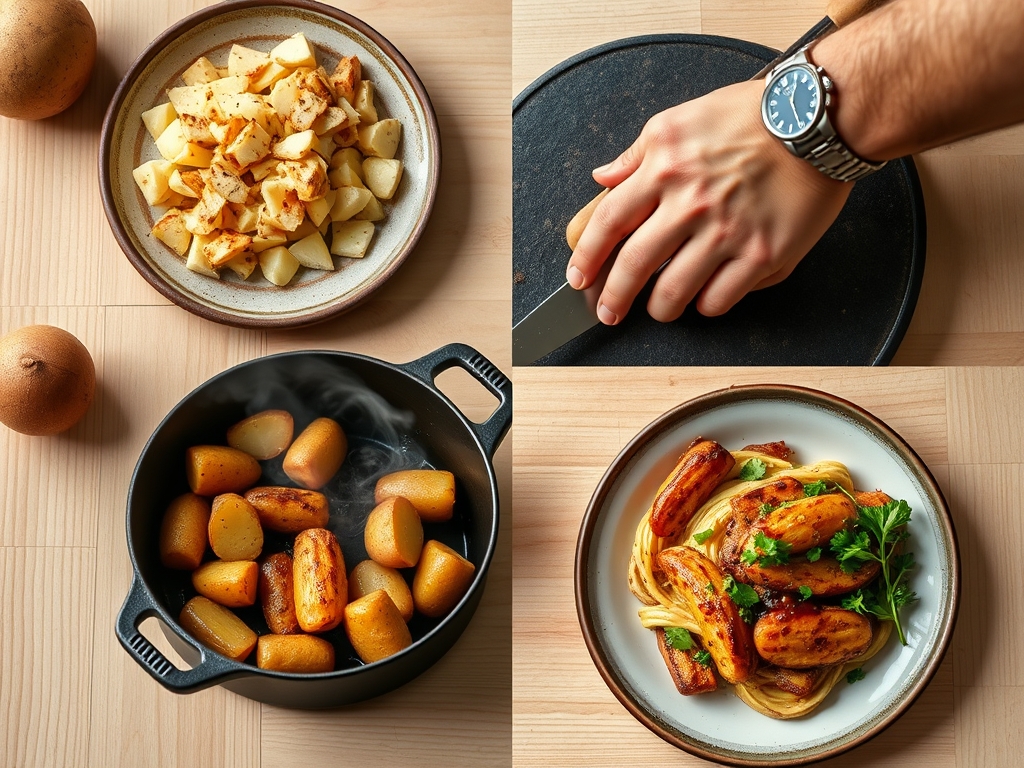
To achieve culinary excellence, your mise-en-place must be precise. Start with two pounds of small Yukon Golds, ideally uniform in size to ensure even thermal distribution. You will need high-quality fats; specifically, clarified butter or duck fat, which offer a higher smoke point than whole butter. This allows for superior Maillard reaction browning without the risk of burning milk solids.
Fresh aromatics are non-negotiable. Gather sprigs of woody rosemary and thyme to infuse the oil. For the seasoning, use flaky sea salt and freshly cracked tellicherry peppercorns. A touch of garlic is essential, but leave the skins on to prevent the cloves from turning bitter during the high-heat roast.
Smart Substitutions:
If you are aiming for a plant-based profile, swap the animal fats for avocado oil or a high-quality extra virgin olive oil. For a piquant kick, replace the rosemary with smoked paprika and a pinch of cumin. If you cannot find Yukon Golds, small Dutch Yellow potatoes are an excellent second choice due to their similar wax-to-starch ratio.
The Clock:
Mastering the "Chef's Flow" is about timing your movements to maximize efficiency. Total preparation time is approximately 10 minutes, while the active cooking phase spans 35 to 45 minutes.
The flow begins with the parboiling stage. This is not "dead time." While the potatoes simmer, use your bench scraper to clear your workstation and prep your herb oil in a small saucier. By the time the potatoes reach the desired fork-tenderness, your oven should be preheated and your roasting pan should be screaming hot. This overlap ensures that the potatoes never lose their internal heat, which is vital for achieving that shatteringly crisp exterior.
The Masterclass:
1. The Precision Parboil
Place your potatoes in a heavy-bottomed skillet or pot and cover with cold, heavily salted water. Bring to a boil and then reduce to a simmer. You are looking for the moment the exterior softens while the core remains slightly firm.
Pro Tip: Starting with cold water prevents the outside of the potato from overcooking and sloughing off before the center is heated. This preserves the structural integrity of the cell walls.
2. The Steam Dry
Drain the potatoes and let them sit in the colander for three minutes. Give them a vigorous shake to roughen up the edges. This creates more surface area for the fat to cling to.
Pro Tip: This process utilizes evaporative cooling. Removing surface moisture is the secret to a crunchier crust; water is the enemy of the crisp, as it creates steam rather than a sear.
3. The Fat Infusion
While the potatoes are still steaming, toss them with your chosen fat and aromatics. Use tongs to ensure every millimeter of the skin is coated in a viscous layer of oil or butter.
Pro Tip: Yukon Golds have a naturally high sugar content. Coating them thoroughly in fat protects these sugars from direct heat, allowing them to caramelize slowly rather than carbonize.
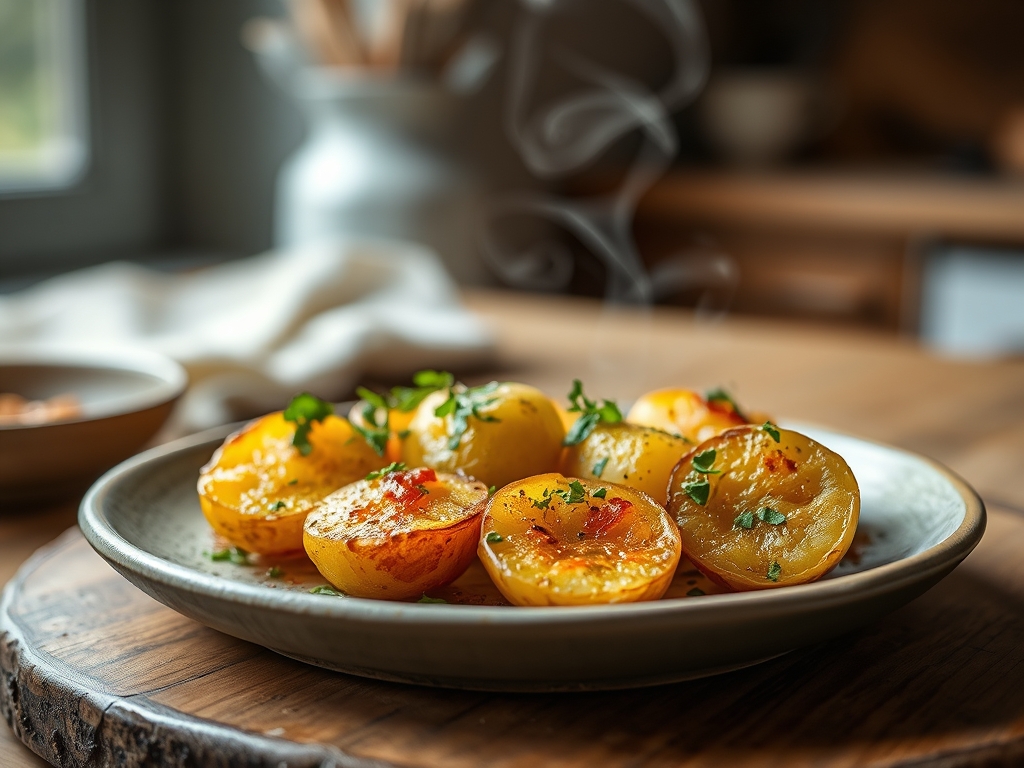
4. The Smashed Technique
Place the potatoes on a preheated baking sheet. Use the bottom of a heavy glass or a meat mallet to gently press down until they are about half an inch thick.
Pro Tip: Cracking the skin exposes the starchy interior. When this starch meets the hot oil on the pan, it undergoes gelatinization, forming a rigid, glass-like crust that stays crunchy for longer.
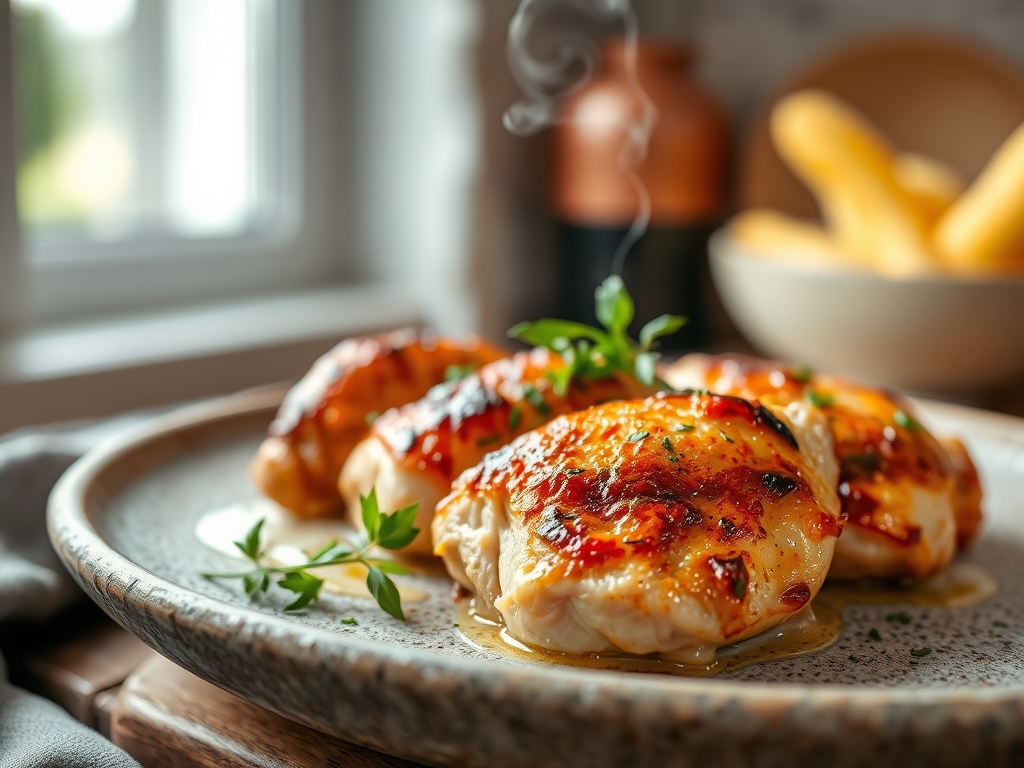
5. The High-Heat Roast
Slide the pan into a 425 degree Fahrenheit oven. Roast for 20 minutes, then flip each potato carefully. Continue roasting until the edges are deep amber.
Pro Tip: This stage relies on convection heat. The circulating air wicks away the last remnants of moisture, intensifying the earthy flavors of the potato.
6. The Aromatic Finish
In the final five minutes, toss in your smashed garlic cloves and fresh herbs. The residual heat is enough to render the oils from the herbs without scorching them.
Pro Tip: Adding herbs too early can lead to the breakdown of volatile oils. Adding them late ensures a bright, herbaceous aroma that hits the palate immediately.
7. The Microplane Zest
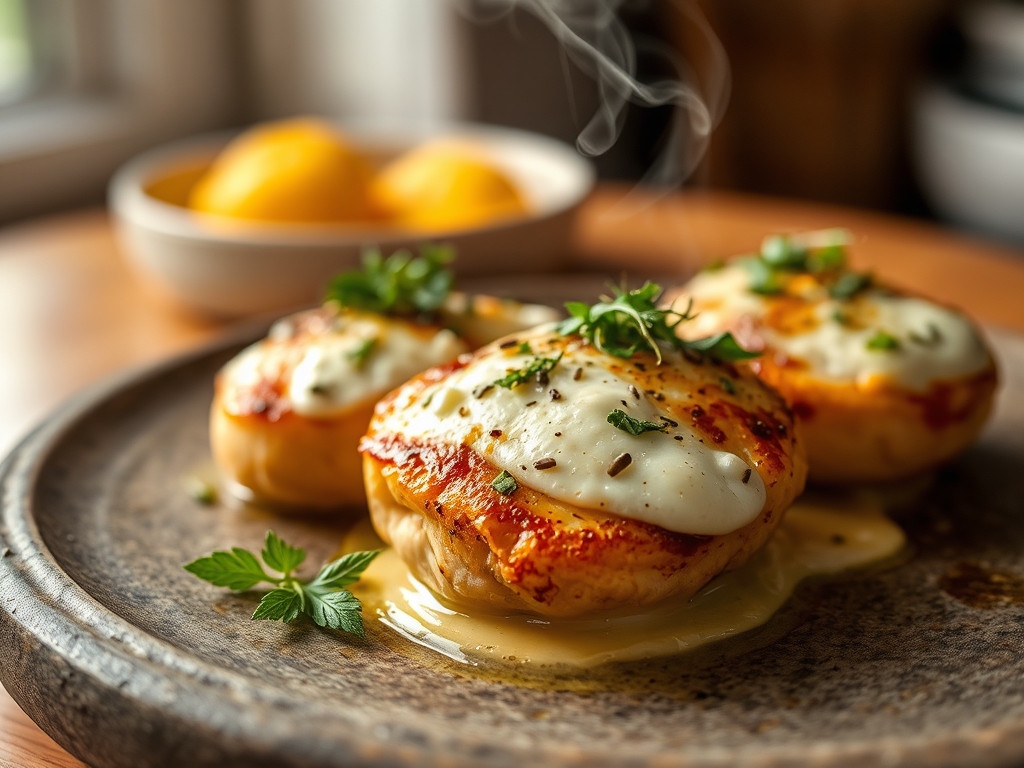
Once out of the oven, use a microplane to grate a dusting of fresh lemon zest or aged Parmesan over the hot potatoes.
Pro Tip: The heat of the potato will slightly melt the cheese or release the citrus oils, creating a complex flavor profile that cuts through the richness of the fat.
8. The Resting Phase
Transfer the potatoes to a wire rack for two minutes before serving. This prevents the bottom from becoming soggy on a flat plate.
Pro Tip: This allows for thermal carryover to finish cooking the very center of the potato while the exterior firms up into its final, crunchy state.
The Deep Dive:
When analyzing the nutritional profile of small yukon gold potato recipes, you will find they are naturally gluten-free and packed with potassium and Vitamin C. One medium serving contains roughly 150 calories before the addition of fats.
Dietary Swaps:
For a Keto-friendly alternative, you might consider roasted radishes or cauliflower florets, though the starch profile will differ significantly. For a vegan approach, use nutritional yeast in the final step to mimic the umami of Parmesan.
The Fix-It:
- Soggy Results: You likely overcrowded the pan. If the potatoes are too close, they steam each other. Use two pans to allow for airflow.
- Burnt Garlic: If your garlic turned black, you added it too early. Add it in the final 10 minutes of roasting.
- Sticking to the Pan: You likely didn't preheat the roasting sheet. A hot pan creates an immediate sear that prevents sticking.
Meal Prep:
To reheat, avoid the microwave at all costs. It will turn your crisp masterpieces into rubber. Instead, use an air fryer at 375 degrees for four minutes or a dry skillet over medium heat to reactivate the fats and restore the crunch.
The Wrap-Up:
There is something profoundly satisfying about mastering the humble potato. By understanding the science of starch and the power of heat, you turn a simple root vegetable into a gourmet experience. These small yukon gold potato recipes are your ticket to becoming the favorite host in your friend group. Now, go grab your digital scale, weigh out those spuds, and get roasting!
The Kitchen Table:
Why are Yukon Gold potatoes better for roasting?
Yukon Golds have a medium starch content. This unique balance allows them to maintain a creamy, buttery interior while still developing a crisp, golden exterior. They are the "all-purpose" champions of the potato world.
Do I need to peel small Yukon Gold potatoes?
No, the skins on small Yukon Golds are incredibly thin and delicate. Leaving the skins on provides essential fiber and creates the perfect textural contrast once they are roasted and crisped in the oven.
How do I prevent my potatoes from sticking to the baking sheet?
Always preheat your baking sheet in the oven before adding the potatoes. When the oiled potato hits the hot metal, it creates an immediate sear that prevents the starches from bonding to the surface of the pan.
Can I boil the potatoes ahead of time?
Yes, you can parboil the potatoes up to 24 hours in advance. Store them in the refrigerator uncovered. The cold air actually helps dry out the surface even further, leading to an even crunchier roast the next day.