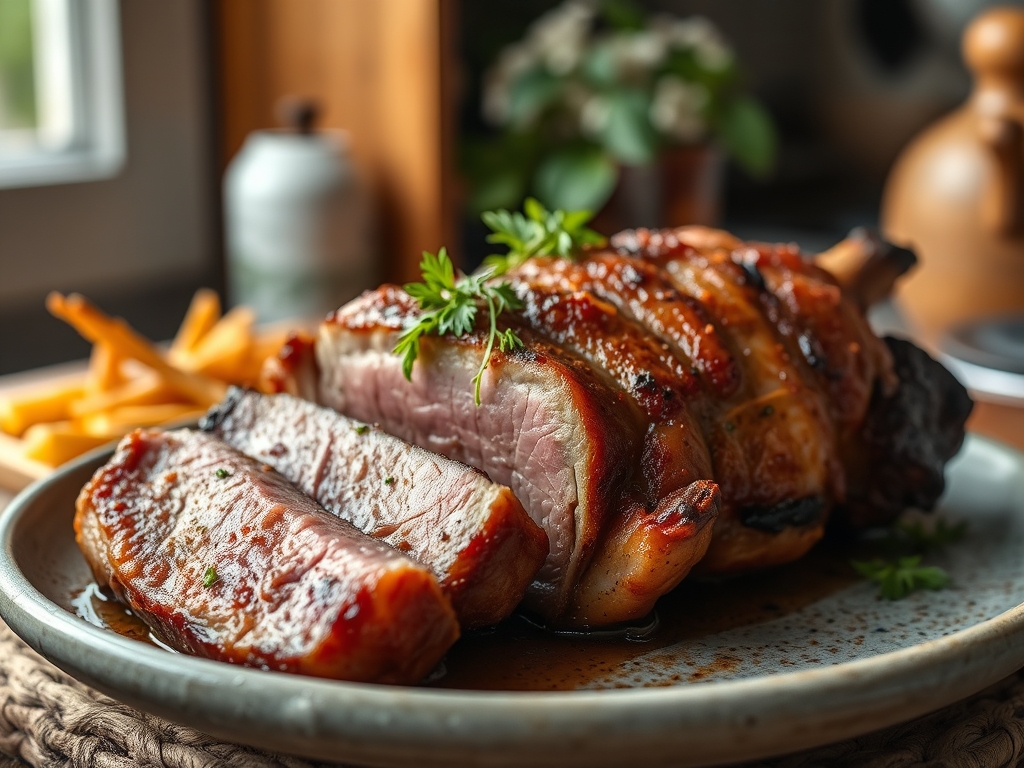
Picture this: a slow-turning, amber-crusted prime rib glistening under the heat, its juices performing a rhythmic dance as they baste the meat in a continuous cycle of flavor. This is the ultimate sensory reward of mastering rotisserie beef recipes. The aroma is intoxicating; it is a heady mix of rendered fat, toasted peppercorns, and the deep, savory promise of a perfect medium-rare center. While a standard oven roast is fine for a Tuesday, the rotisserie is an architectural marvel of culinary physics. It utilizes centrifugal force and constant motion to ensure that the internal moisture stays trapped exactly where you want it. We are moving beyond basic grilling into the realm of professional charcuterie and high-end steakhouse techniques. You do not just cook this beef; you engineer it. By the time we are finished, your kitchen will smell like a five-star bistro, and you will possess the technical prowess to turn a humble chuck roll or a prestigious ribeye into a masterpiece of texture and taste.
The Gathers:
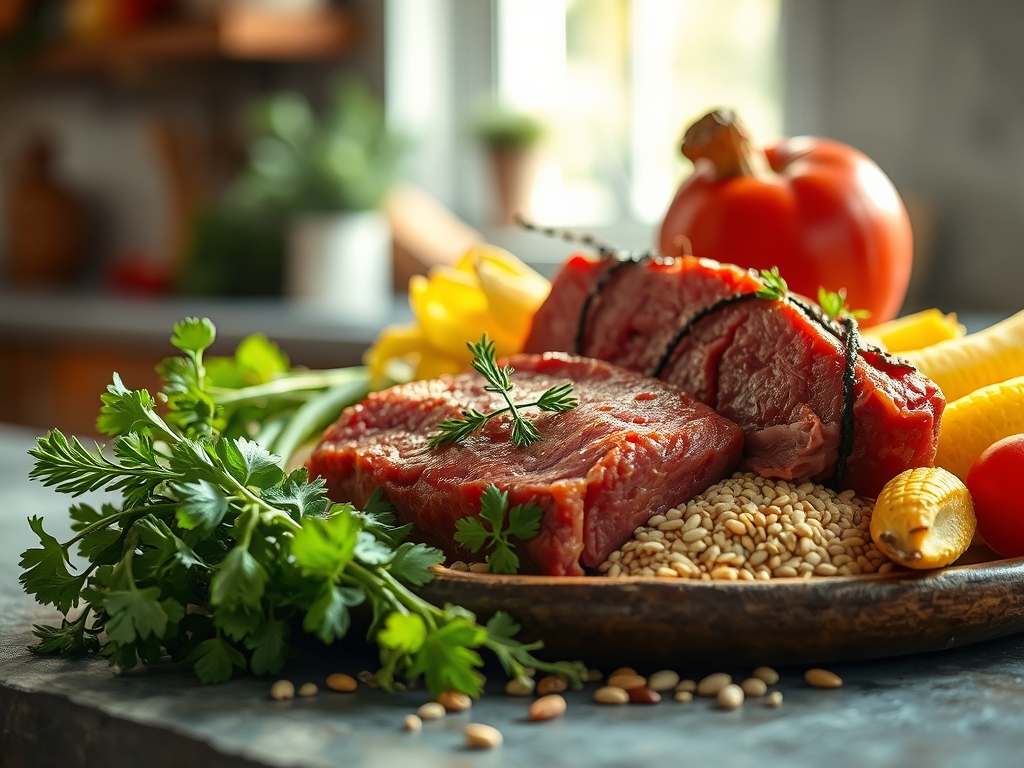
Before we ignite the flame, we must curate our palette. Professional results require high-quality inputs. For the best rotisserie beef recipes, look for a three-to-four-pound roast with significant intramuscular fat. A digital scale is your best friend here to ensure the weight is balanced for the spit. You will need coarse kosher salt for its jagged crystal structure, which adheres better to the protein fibers, and cracked black tellicherry peppercorns for a piquant bite. Grab your microplane to zest fresh garlic and horseradish into a paste; the fine blades break down the cellular walls to release more volatile oils than a knife ever could.
Smart Substitutions:
If you cannot find a prime rib, a "Poor Man's Ribeye" (chuck eye roast) is a brilliant alternative because it contains similar fat deposits. For those avoiding nightshades, swap paprika for ground sumac to achieve that deep red hue and a bright, acidic finish. If you lack fresh herbs, use a high-quality viscous balsamic glaze to bind your dry rub to the meat; it adds a hidden layer of umami that caramelizes beautifully.
The Clock:
The "Chef's Flow" is all about managing thermal momentum. Your prep time is roughly 30 minutes, which includes trussing the meat and allowing it to come to room temperature. This is non-negotiable; cold beef in the center leads to uneven cooking. The active cook time usually spans 15 to 20 minutes per pound, but we cook to temperature, not time. Finally, the "Quiet Phase" or resting period requires 20 to 30 minutes. Total commitment? About three hours. Use the downtime to deglaze your dripping pan with a splash of red wine in a saucier to create a world-class jus.
The Masterclass:
1. The Salt Brine and Surface Tension
Begin by patting the beef completely dry with lint-free towels. Apply a generous layer of kosher salt at least two hours before cooking. This process, known as dry-brining, allows the salt to denature the surface proteins, creating a tacky texture that helps the crust form.
Pro Tip: This relies on osmosis. Initially, salt draws moisture out; however, given enough time, the beef reabsorbs that concentrated brine, seasoning the interior and breaking down tough muscle fibers for a more tender bite.
2. The Art of the Truss
Using butcher's twine, secure the roast into a uniform cylinder. A bench scraper can help you tuck in loose edges before you loop the string. If one end is thicker than the other, it will wobble on the spit, causing your motor to burn out and the meat to cook unevenly.
Pro Tip: Uniformity is the key to thermal equilibrium. By creating a perfect cylinder, you ensure that heat penetrates the center at a consistent rate from all 360 degrees of rotation.
3. Balancing the Spit
Slide the first spit fork onto the rod, then the beef, then the second fork. Tighten the screws using tongs if they are hot. Test the balance by rotating the rod in your hands; it should turn smoothly without a "heavy side" falling to the bottom.
Pro Tip: Proper balance prevents mechanical fatigue on your rotisserie motor. An unbalanced load causes the meat to jerk, which disrupts the self-basting process and leads to "hot spots" on the surface.
4. The Maillard Ignition
Start your rotisserie on high heat for the first 15 minutes. You want to see the surface begin to sizzle and change color almost immediately. Use a heavy-bottomed skillet underneath the meat to catch drippings for your sauce later.
Pro Tip: This is the Maillard Reaction. By hitting the meat with high heat early, you trigger a chemical reaction between amino acids and reducing sugars, creating hundreds of different flavor compounds and that iconic brown crust.
5. The Slow Descent
Drop the heat to medium-low (around 325 degrees Fahrenheit). This is where the magic happens. The constant rotation allows the fat to render slowly, dripping over the surface and acting as a natural frying medium for the exterior.
Pro Tip: This stage utilizes convection heat. Because the meat is moving, the hot air circulates around it constantly, preventing the moisture from evaporating too quickly and keeping the interior succulent.
6. The Carryover Calculation
Pull the beef off the heat when your digital thermometer reads 125 degrees Fahrenheit for medium-rare. Do not wait until it reaches 135 degrees. Use your tongs to carefully slide the roast off the spit and onto a warm carving board.
Pro Tip: This is thermal carryover. The exterior of the meat is significantly hotter than the center; once removed from the heat, that energy continues to move inward, raising the internal temperature by another 5 to 10 degrees during the rest.
7. The Final Rest
Tent the beef loosely with foil. Do not wrap it tightly, or you will steam the crust you worked so hard to build. Let it sit for at least 20 minutes. This allows the internal pressure to stabilize and the juices to thicken.
Pro Tip: Resting allows for reabsorption. During cooking, muscle fibers contract and push moisture toward the center. Resting lets those fibers relax, allowing the juices to redistribute so they stay in the meat rather than running all over your cutting board.
The Deep Dive:
Macro Nutrition:
A standard six-ounce serving of rotisserie beef provides approximately 45 grams of high-quality protein and 30 grams of fat. It is a dense source of Vitamin B12 and Zinc, making it a powerhouse for metabolic health.
Dietary Swaps:
For a Keto profile, avoid sugar-based rubs and stick to garlic, herbs, and butter. For Vegan guests, you can actually rotisserie a whole "cabbage steak" or a large cauliflower head using the same spit technique; just baste with miso-tahini for that savory hit. This recipe is naturally Gluten-Free as long as your spice blends do not contain anti-caking agents like flour.
The Fix-It:
- The Meat is Slipping: If the beef spins on the rod, your forks aren't deep enough. Stop the motor and reset the forks into the "shoulder" of the meat.
- The Crust is Burning: Your heat is too high or the meat is too close to the burner. Move the coals to the sides or turn off the center gas burner to create indirect heat.
- The Center is Raw: You likely didn't let the meat reach room temperature before cooking. Tent with foil and finish it in a 300-degree oven for 15 minutes.
Meal Prep:
To maintain "day-one" quality, do not microwave leftovers. Instead, use the sous-vide method or place slices in a pan with a tablespoon of beef broth, cover tightly, and warm over low heat. This prevents the proteins from toughening and keeps the fat in an emulsified state.
The Wrap-Up:
Mastering rotisserie beef recipes is like learning a secret language of fire and steel. It requires patience, a bit of gear, and a respect for the science of heat. But once you carve into that perfectly rested, mahogany-crusted roast, you will realize that the effort was worth every second. You have moved beyond the "flip and pray" method of grilling into a more sophisticated, intentional way of cooking. So, grab your twine, sharpen your carving knife, and let the rotisserie do the heavy lifting. You have got this!
The Kitchen Table:
What is the best cut for rotisserie beef recipes?
A ribeye roast or prime rib is the gold standard due to its high fat content. For a more budget-friendly option, try a top sirloin or a chuck eye roast, which both offer excellent flavor and tenderness when slow-rotated.
How do I keep the meat from getting dry?
The rotisserie's rotation creates a self-basting effect, but the real secret is the rest period. Resting the meat for 20 minutes allows the muscle fibers to reabsorb juices, ensuring every slice remains succulent and tender rather than dry.
Can I do this on a regular charcoal grill?
Yes, as long as you have a rotisserie attachment. The key is using indirect heat by placing charcoal on the sides of the meat rather than directly underneath. This prevents flare-ups from dripping fat and ensures an even, slow cook.
What temperature is medium-rare for beef?
For a perfect medium-rare, pull the beef off the rotisserie when it hits 125 degrees Fahrenheit. During the resting phase, carryover cooking will naturally bring the internal temperature up to the ideal 130 to 135 degree range for serving.