The sizzle of a heavy-bottomed skillet meeting cold protein is the siren song of the kitchen. When you master clean ground beef recipes, you are not just making dinner; you are conducting a symphony of amino acids and lipids. We have all been there: staring at a grey, watery mess in a pan and wondering where the gourmet promise went. The secret lies in the molecular transformation of the meat. By understanding the physics of heat and the chemistry of fat, you can turn a humble pound of chuck into a nutrient-dense masterpiece that tastes like a five-star steakhouse.
Imagine a kitchen where the air is thick with the scent of caramelizing sugars and piquant aromatics. We are moving beyond the basic burger. We are talking about deep, umami-rich foundations that elevate your meal prep from a chore to a craft. Whether you are aiming for a ketogenic powerhouse or a lean, vegetable-forward bowl, the technique remains the same. It is time to treat your ground beef with the respect it deserves. Let us dive into the gear, the science, and the soul of the perfect sear.
The Gathers:
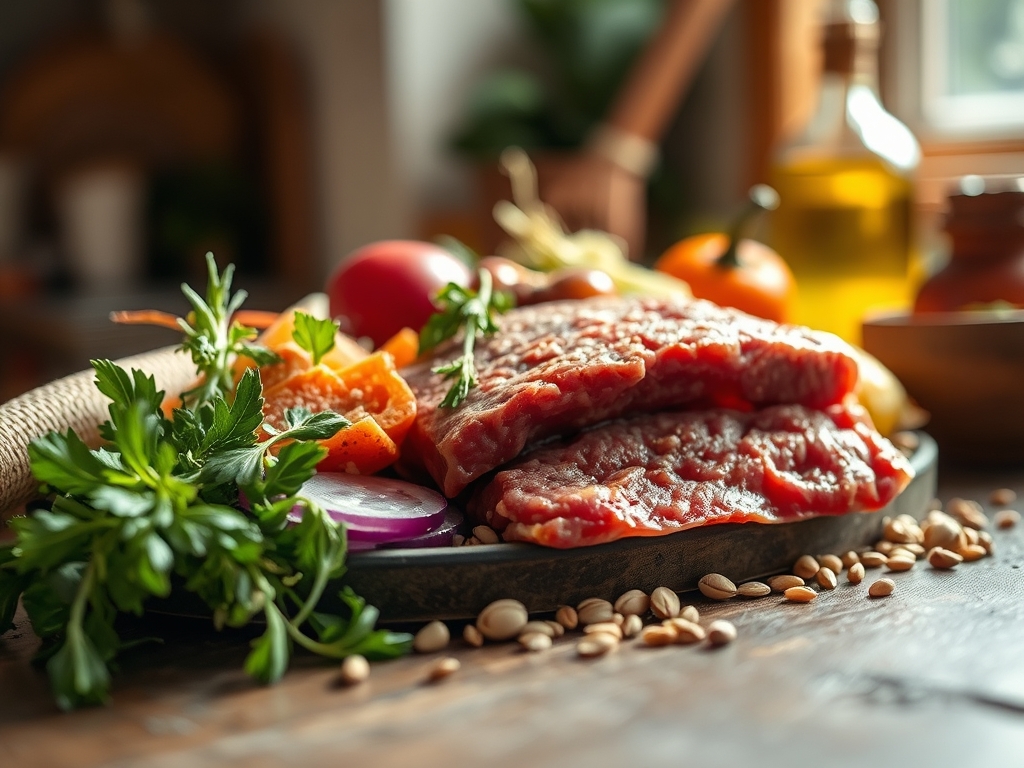
Your mise-en-place is your roadmap to success. Start with high-quality, grass-fed beef; it contains higher levels of Omega-3 fatty acids and Conjugated Linoleic Acid compared to grain-finished counterparts. You will need a digital scale to ensure portion accuracy and a bench scraper to move your aromatics with precision.
Smart Substitutions:
If you are looking to lower the caloric density without sacrificing volume, utilize the "blended burger" technique. Finely minced cremini mushrooms provide a similar texture and a massive hit of ergothioneine. For a piquant kick, swap standard table salt for smoked Maldon sea salt or a dash of liquid aminos to enhance the natural savory profile of the beef. Ensure your aromatics; like garlic, shallots, and ginger; are processed with a microplane to create a fine paste that integrates seamlessly into the meat fibers.
The Clock:
The "Chef's Flow" is all about maximizing efficiency while respecting the thermal properties of your ingredients.
Prep Time: 15 minutes. This includes the crucial "tempering" phase where you let the meat sit at room temperature to ensure even heat distribution.
Cook Time: 12 to 15 minutes. This is not a race; it is a controlled reduction.
The Flow: While the meat tempers, use your chef's knife to prep the "Holy Trinity" of your choice (onions, carrots, celery). Start your skillet on medium-high heat. By the time the pan reaches the Leidenfrost point; where water droplets bead and dance; your ingredients are ready to hit the heat in a sequence that prevents overcrowding.
The Masterclass:
1. The Tempering Technique
Remove your beef from the refrigerator at least 20 minutes before cooking. Cold meat causes the muscle fibers to contract violently when hitting a hot surface, squeezing out precious moisture.
Pro Tip: This prevents "thermal shock." By narrowing the temperature gap between the beef and the skillet, you ensure the exterior browns before the interior overcooks.
2. The Sear over the Stir
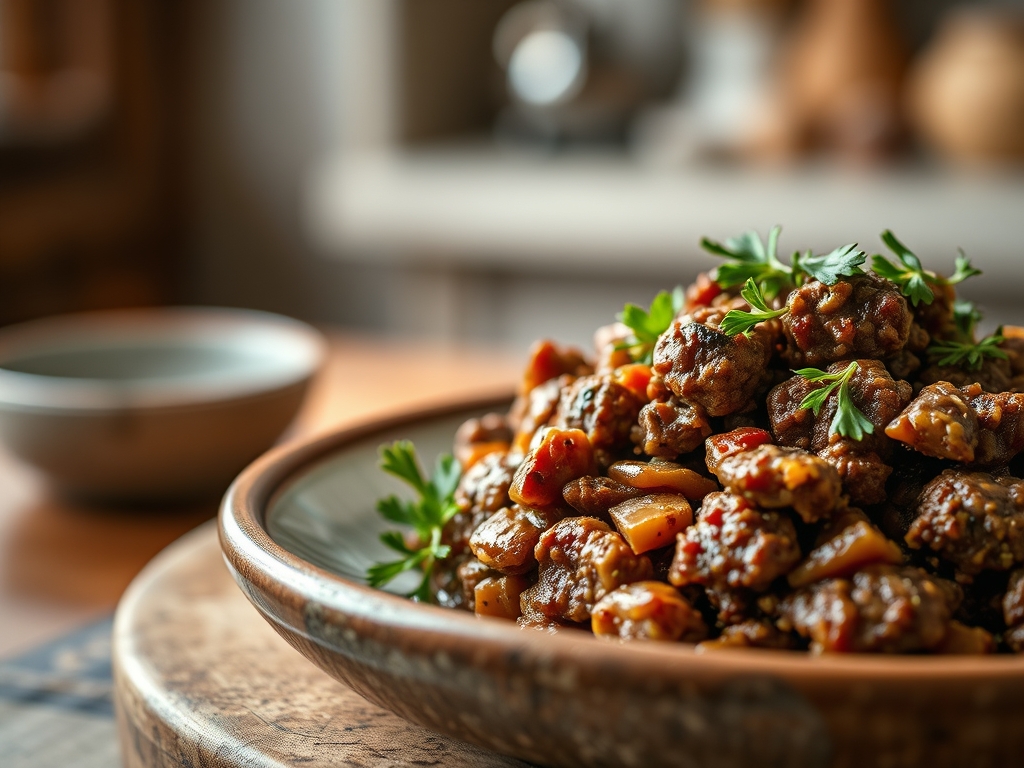
Place the meat in a preheated heavy-bottomed skillet and leave it alone. Resisting the urge to stir allows for the Maillard reaction to occur. This is a chemical reaction between amino acids and reducing sugars that creates hundreds of different flavor compounds.
Pro Tip: If you stir too early, you encourage steam rather than a sear. Wait for a deep mahogany crust to form before flipping.
3. Effective Fat Rendering
As the beef cooks, the solid fats turn into a liquid, viscous state. If you are using a higher fat percentage, use a saucier or a slotted spoon to remove excess liquid, but leave just enough to confit your aromatics.
Pro Tip: Fat is a flavor carrier. Removing it entirely results in a dry mouthfeel; keeping about one tablespoon per pound provides the necessary lipid bridge for spices.
4. Deglazing for Depth
Once the meat is browned, you will notice brown bits stuck to the bottom of the pan. This is called "fond." Use a splash of beef bone broth or dry red wine to deglaze the pan, scraping the bottom with a wooden spatula.
Pro Tip: This process captures concentrated flavor molecules that would otherwise be lost. It creates a built-in sauce that coats every morsel of beef.
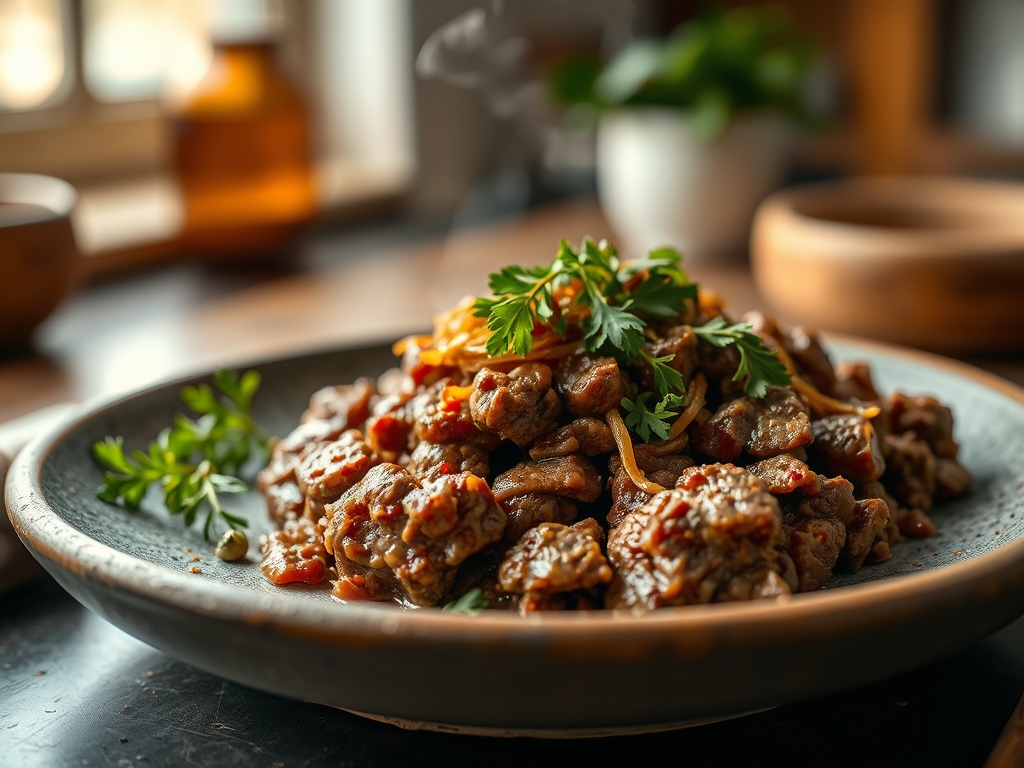
5. Aerating the Aromatics
Push the meat to the edges of the pan and drop your minced garlic and spices into the center. Let them bloom in the remaining fat for 30 seconds until fragrant before mixing them into the meat.
Pro Tip: This is called "blooming" spices. Heat releases the essential oils in dried herbs and spices, significantly increasing their aromatic potency.
6. Managing Thermal Carryover
Pull the beef off the heat when it looks just slightly underdone. The internal temperature will continue to rise by 5 to 10 degrees even after it leaves the pan.
Pro Tip: This is known as thermal carryover. If you cook it to "perfect" in the pan, it will be "overdone" by the time it hits the plate.
The Deep Dive:
Macro Nutrition:
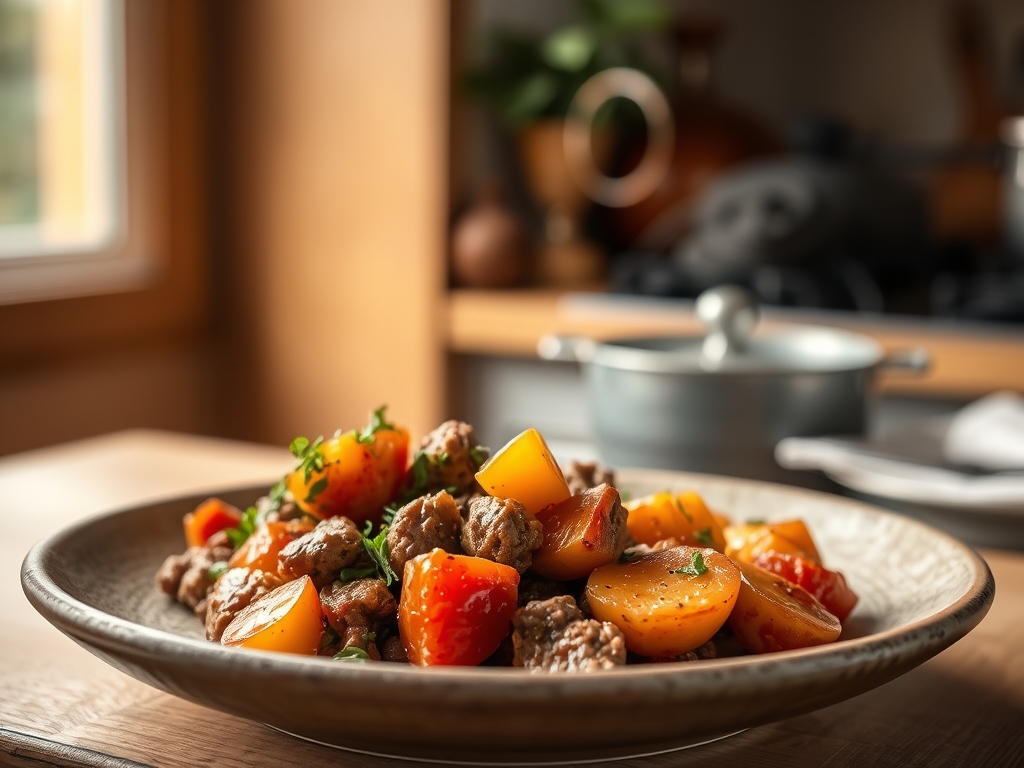
A standard 4-ounce serving of 90/10 ground beef provides approximately 22 grams of protein and 10 grams of fat. It is a powerhouse of B12, Zinc, and Selenium. To keep your clean ground beef recipes balanced, pair the protein with complex carbohydrates like roasted sweet potatoes or quinoa.
Dietary Swaps:
- Vegan: Use a walnut and lentil crumble seasoned with miso paste to mimic the umami of beef.
- Keto: Serve the beef in large romaine lettuce cups with avocado for added healthy fats.
- Gluten-Free: Ensure your spices are certified GF and use coconut aminos instead of soy sauce for seasoning.
The Fix-It:
- The Meat is Grey: Your pan wasn't hot enough or you overcrowded it. Next time, cook in batches. Fix it now by cranking the heat and adding a dash of Worcestershire sauce for color.
- Too Salty: Add a splash of acid, like lime juice or apple cider vinegar. The acidity cuts through the sodium perception.
- Grainy Texture: You likely over-handled the meat during prep. Next time, be gentle. Fix it now by adding a splash of heavy cream or coconut milk to create a smoother emulsion.
Meal Prep Science:
To maintain "day-one" quality, store your beef in airtight glass containers. When reheating, add a teaspoon of water or broth before microwaving. This creates a steam chamber that rehydrates the protein fibers, preventing that rubbery "leftover" texture.
The Wrap-Up:
Mastering the art of the perfect sear is a game-changer for your culinary repertoire. By focusing on the Maillard reaction, managing your thermal carryover, and respecting the "fond," you turn a simple ingredient into a nutritional powerhouse. Clean ground beef recipes are the backbone of a healthy, high-protein lifestyle. Now, grab your tongs, fire up that skillet, and show that beef who is boss. Your taste buds and your muscles will thank you.
The Kitchen Table:
How do I prevent ground beef from getting watery?
Preheat your skillet until it is smoking hot and avoid overcrowding the pan. Cooking too much meat at once lowers the surface temperature; causing the meat to steam in its own juices rather than searing.
What is the healthiest fat ratio for ground beef?
For clean recipes; 90/10 or 93/7 ratios are ideal. They provide enough fat for flavor and fat-soluble vitamin absorption without excessive saturated fat. Grass-fed options offer a superior nutrient profile and better Omega-3 ratios.
Can I cook ground beef from frozen?
It is not recommended for the best texture. Thawing in the refrigerator ensures even cooking. If you must; use a low heat to defrost in the pan first; but expect a loss in browning quality and a grainier texture.
How long does cooked ground beef last in the fridge?
Stored in an airtight container; cooked ground beef remains high-quality for 3 to 4 days. For longer storage; freeze it for up to 3 months. Always reheat to an internal temperature of 165 degrees Fahrenheit.