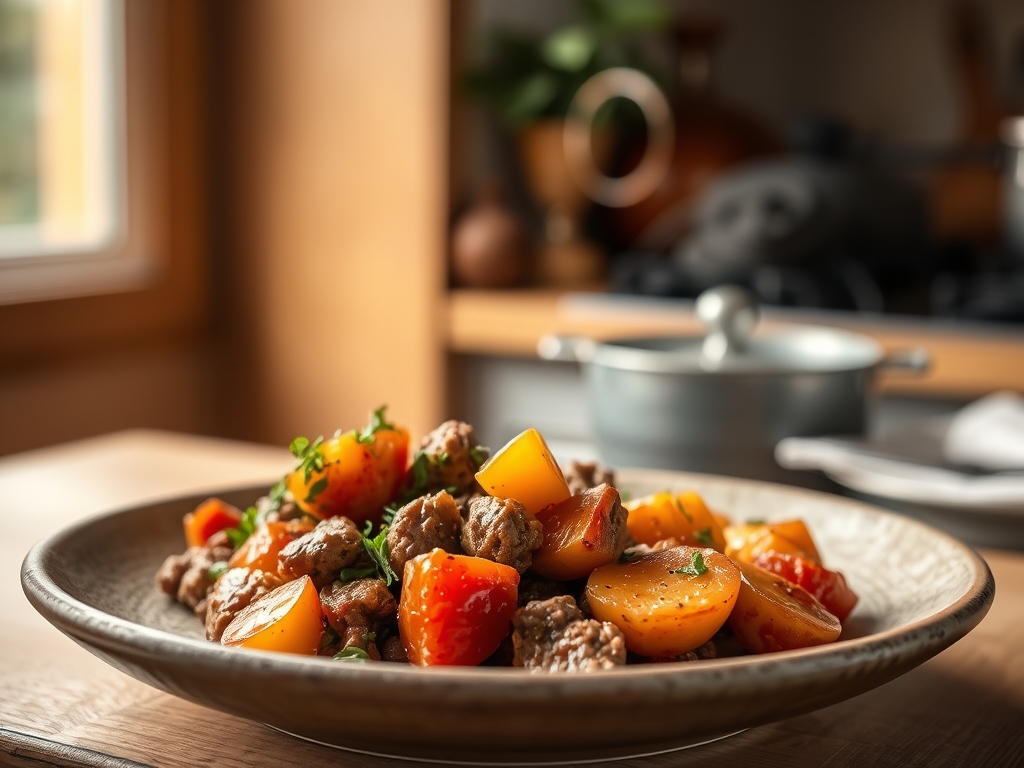

Picture the scene: a heavy cast iron lid lifted to reveal a roiling, mahogany sea of aromatics and salt cured brisket. The steam hits your face with the scent of toasted coriander and bay leaves, a sensory signal that your kitchen has officially been upgraded to a high end gastropub. When you master corned beef recipes dutch oven style, you are not just boiling meat; you are conducting a thermal symphony. The Dutch oven is the ultimate vessel for this because its thick walls provide the radiant heat necessary to transform tough connective tissue into buttery, fork tender silk. Most people settle for grey, rubbery slabs, but we are here to talk about the science of the simmer. We are going to leverage heavy bottomed heat retention to ensure every fiber of that brisket is infused with piquant brine. It is time to move past the basic packet instructions and embrace a methodology that treats this humble cut like the culinary royalty it truly is.
The Gathers:
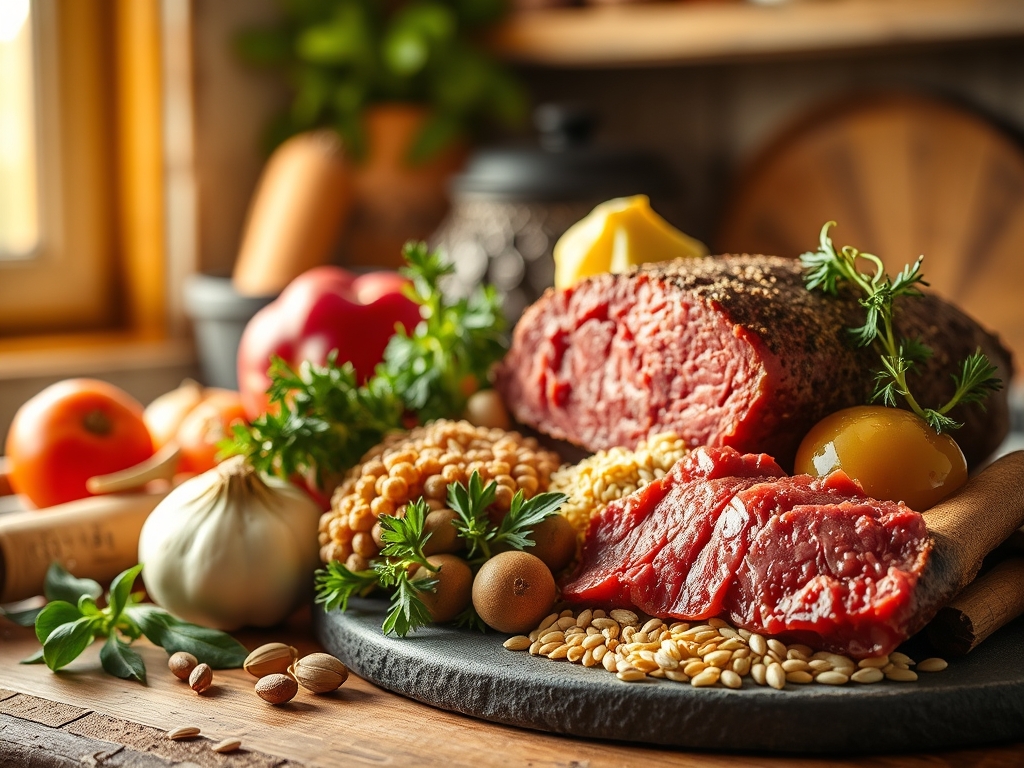
To achieve a masterpiece, your mise en place must be precise. Start with a 3 to 4 pound corned beef brisket, preferably the point cut for its higher fat content which will render beautifully during the long braise. You will need a digital scale to measure out your aromatics if you are going off-packet. Gather four cloves of smashed garlic, two large yellow onions quartered for sweetness, and a pound of waxy red potatoes. Waxy varieties are essential because their low starch content prevents them from disintegrating into a grainy mess.
For the liquid gold, you need a 12 ounce bottle of stout beer; the roasted malts provide a deep, viscous backbone to the sauce. Add two cups of low sodium beef bone broth to control the salinity. You will also need a microplane to zest a bit of fresh horseradish for a final kick. Smart Substitutions: If you are avoiding alcohol, swap the stout for a mixture of beef broth and a tablespoon of blackstrap molasses to mimic that dark, fermented complexity. For a lighter profile, use a crisp apple cider to introduce a bright acidity that cuts through the salt.
The Clock
Efficiency in the kitchen is about understanding the "Chef's Flow." Your active prep time is a brisk 20 minutes, mostly spent on knife work with a sharp chef's knife and a bench scraper to move your aromatics. The real magic happens during the 3.5 to 4 hour passive braise.
Prep Time: 20 minutes.
Cook Time: 3.5 to 4 hours.
Rest Time: 20 minutes (Non-negotiable).
The flow is simple: Sear, Deglaze, Simmer, and Rest. Do not rush the final stage. While the meat rests, you have a 20 minute window to use a saucier to reduce your braising liquid into a concentrated glaze. This is the hallmark of a professional; we never serve "watery" meat.
The Masterclass:
1. The Desalination Soak
Place your brisket in a large bowl of cold water for 30 minutes before cooking.
Pro Tip: This uses osmotic pressure to draw out excess surface salt. If you skip this, the exterior of your meat will be over-seasoned while the interior remains balanced.
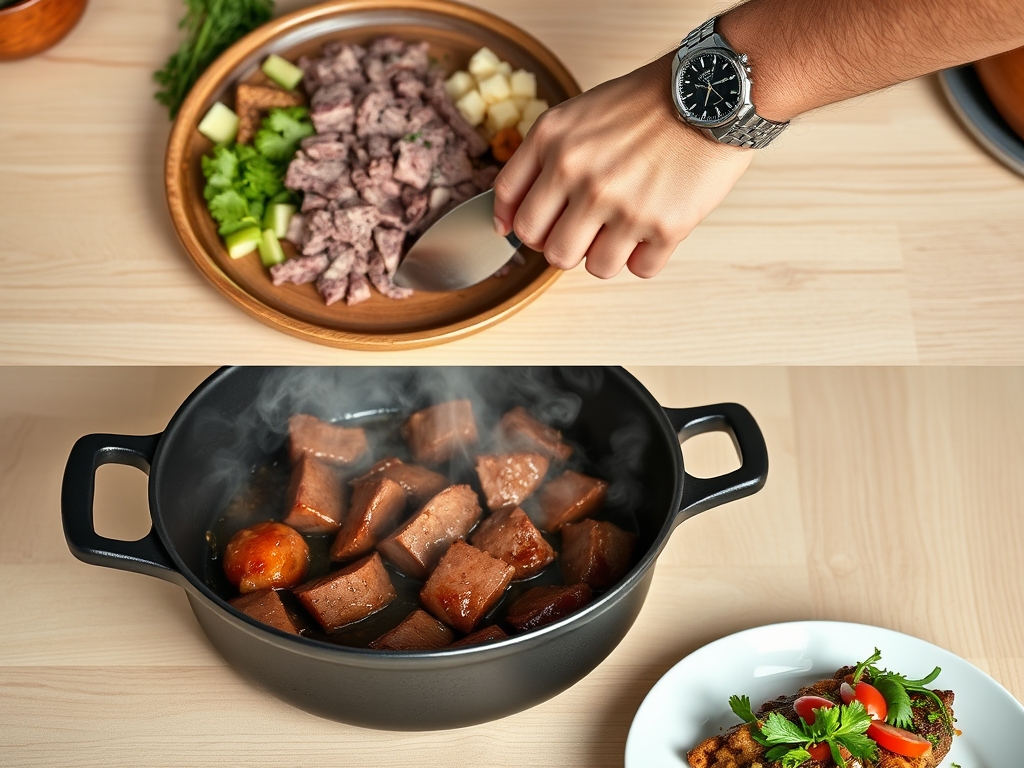
2. The Maillard Sear
Pat the meat bone-dry with paper towels. Heat your Dutch oven over medium-high heat and sear the fat cap until golden brown.
Pro Tip: This triggers the Maillard reaction, creating complex flavor compounds that boiling alone cannot achieve. Use heavy duty tongs to turn the meat without piercing the muscle fibers.
3. The Deglaze and Infuse
Remove the meat and toss in your onions and garlic. Once they soften, pour in the stout and use a wooden spoon to scrape up the brown bits (fond).
Pro Tip: Deglazing captures the caramelized proteins stuck to the bottom of the pot, integrating them back into the braising liquid for a richer mouthfeel.
4. The Low and Slow Braise
Return the meat to the pot, add the broth and spices, and cover tightly. Place in a 300 degree Fahrenheit oven.
Pro Tip: Maintaining a constant, low temperature prevents the collagen fibers from tightening too quickly. A gentle heat allows them to denature slowly into gelatin.
5. The Root Vegetable Entry
Add your potatoes and carrots only during the last hour of cooking.
Pro Tip: This timing prevents enzymatic breakdown of the vegetable cell walls, ensuring they are tender but still hold their structural integrity when served.
6. The Carryover Rest
Remove the brisket from the liquid and tent it with foil on a cutting board for 20 minutes.
Pro Tip: This accounts for thermal carryover, where the internal temperature continues to rise slightly. It also allows the muscle fibers to reabsorb the juices, preventing a dry result.
The Deep Dive
Macro Nutrition
A standard 4 ounce serving of corned beef provides roughly 18 grams of protein and 16 grams of fat. While it is high in sodium, it is an excellent source of Vitamin B12 and zinc. To balance the plate, focus on high fiber cabbage and potassium rich potatoes to help offset the salt intake.
Dietary Swaps
Keto: Omit the potatoes and beer. Use a splash of apple cider vinegar and extra beef broth. Serve with roasted radishes, which mimic the texture of potatoes when cooked.
Vegan: While not "corned beef," you can use this exact braising liquid for a head of "corned cabbage" or thick slabs of celery root.
Gluten Free: Ensure your stout is a gluten free variety or swap entirely for a dry hard cider.
The Fix-It: Troubleshooting
Problem: The meat is tough and "rubbery."
Fix: It is undercooked. Connective tissue needs time to melt. Put it back in the Dutch oven for another 45 minutes.
Problem: The liquid is way too salty.
Fix: Drop in a raw, peeled potato for 15 minutes. The potato acts as a molecular sponge, absorbing excess salt from the liquid.
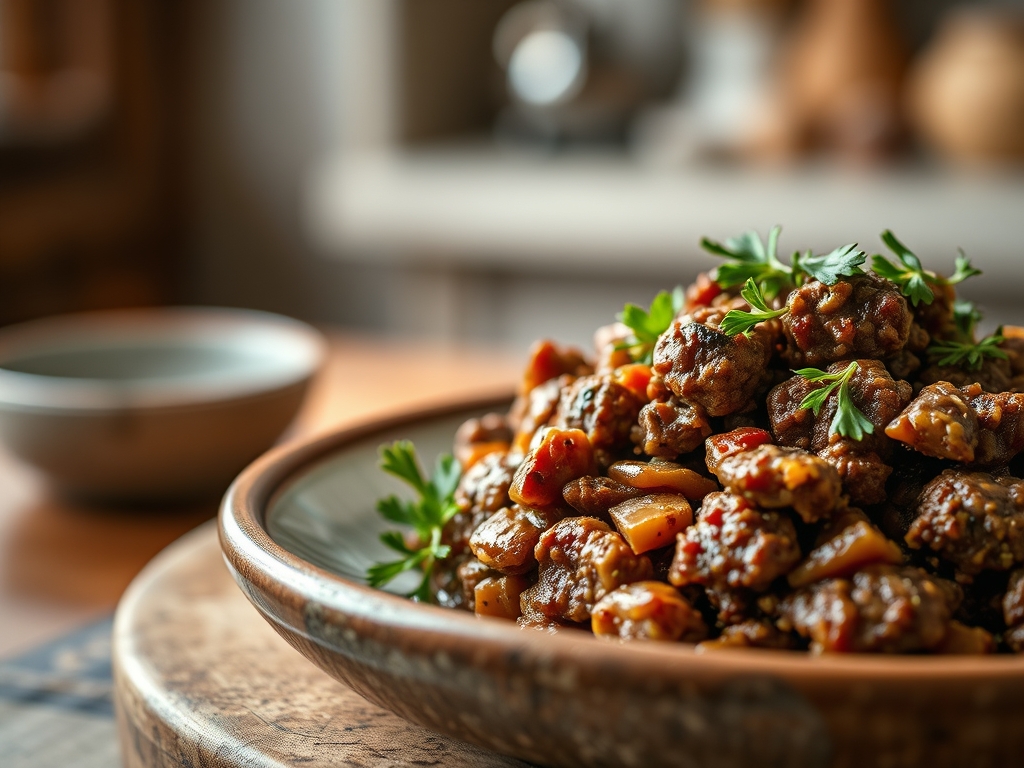
Problem: The meat is falling apart and shredding.
Fix: You have overshot the braise. Instead of slicing, embrace it and serve it as "pulled" corned beef for sliders.
Meal Prep and Reheating
To maintain "day one" quality, store the meat submerged in its own braising liquid. When reheating, avoid the microwave as it causes protein toughening. Instead, simmer the slices gently in a saucier with a splash of broth until they reach 145 degrees Fahrenheit.
The Wrap-Up
Mastering corned beef recipes dutch oven style is a rite of passage for any serious home cook. By understanding the chemistry of collagen and the power of a proper sear, you turn a budget cut into a luxurious feast. Remember to slice against the grain to ensure every bite is as tender as possible. Now, grab your heavy pot and let the slow magic happen; your future self (and your leftovers) will thank you.
The Kitchen Table
Why is my corned beef still tough after 3 hours?
Toughness usually means the collagen has not yet converted to gelatin. Brisket is a hardworking muscle; if it is still rubbery, it simply needs more time at a low, consistent simmer to break down those stubborn connective tissues.
Do I have to use the spice packet?
Not at all. You can create a more sophisticated flavor profile by using whole toasted peppercorns, mustard seeds, coriander, and allspice. Using fresh aromatics like garlic and ginger will always provide a more piquant and vibrant result than a pre-packaged mix.
Can I cook this on the stovetop instead of the oven?
Yes, but the oven is superior. A Dutch oven in the oven provides 360 degree radiant heat. Stovetop cooking only heats from the bottom, which can lead to uneven cooking or scorching if the flame is not perfectly calibrated.
How do I slice corned beef correctly?
Always slice against the grain. Look for the direction of the muscle fibers and cut perpendicular to them. This shortens the fibers, making the meat much easier to chew and providing that signature "melt in your mouth" texture.