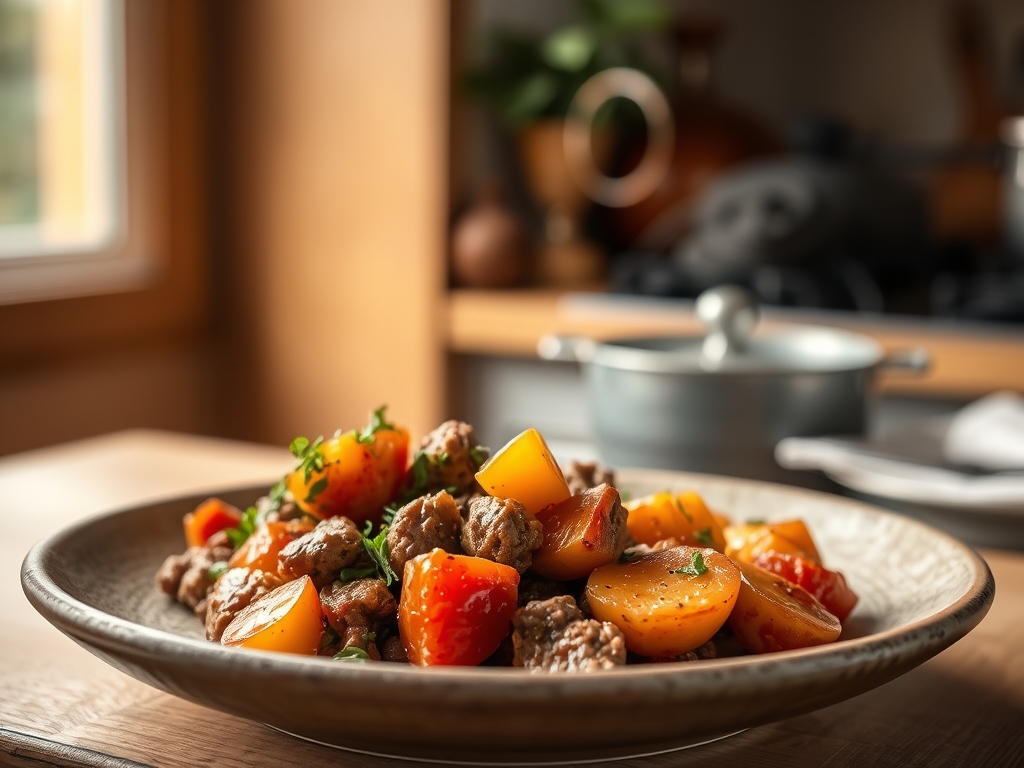
Picture the scene; a hazy afternoon where the scent of hickory smoke tangles with the heavy, savory perfume of rendering fat. You are standing over the grates, watching that beautiful crust develop into a mosaic of deep mahogany and charred edges. When we talk about grilled roast beef recipes, we are not just talking about dinner; we are talking about a fundamental mastery of fire and protein. It is the kind of meal that makes the neighbors peer over the fence and makes your kitchen feel like the epicenter of the culinary universe.
There is something primal yet sophisticated about taking a massive, humble cut of beef and transforming it into a tender, juice-dripping masterpiece. We are moving beyond the basic backyard burger. We are entering the realm of the reverse sear, the internal temperature probe, and the glorious chemistry of the Maillard reaction. Grab your favorite apron and a glass of something crisp. We are about to break down the physics of flavor and the art of the perfect roast. Whether you are aiming for a classic English Sunday style or a piquant Santa Maria rub, these grilled roast beef recipes are the blueprint for your next obsession.
The Gathers:
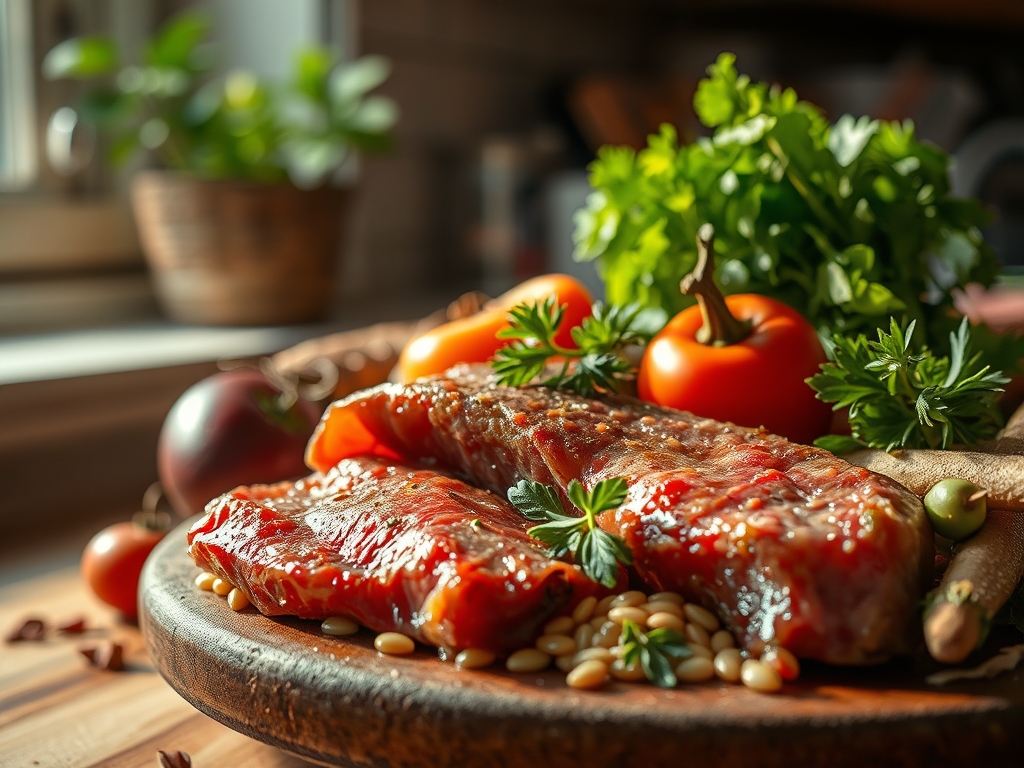
To achieve a result that rivals a high-end steakhouse, your mise-en-place must be intentional. We start with the star: a three to five pound Top Round, Eye of Round, or Tri-Tip. These cuts are lean but possess a dense muscular structure that holds up beautifully to indirect heat. You will need a digital scale to measure your dry rub components precisely. A standard kit includes coarse kosher salt (for osmotic moisture retention), cracked black peppercorns, dehydrated garlic, and perhaps a touch of smoked paprika to enhance the visual depth.
For the wet components, gather high-smoke-point oils like avocado or grapeseed. Avoid extra virgin olive oil for the initial sear; its low smoke point will produce acrid, bitter notes when it hits the flames. You will also need a saucier if you plan on whisking together a red wine reduction or a viscous horseradish cream to serve alongside.
Smart Substitutions: If you are looking for a deeper umami profile without the sodium, swap half your salt for dried mushroom powder. If you lack a traditional roast, a thick-cut Picanha with the fat cap intact provides an incredible self-basting mechanism. For those avoiding nightshades, replace paprika with ground sumac for a bright, acidic lift that cuts through the richness of the beef.
The Clock
The "Chef's Flow" is all about managing transitions. You cannot rush a roast. Expect a total active time of 30 minutes, but a total elapsed time of roughly 3 to 4 hours.
- Tempering (60 Minutes): This is non-negotiable. Taking the beef from the fridge to the counter allows the internal fibers to relax, ensuring even heat penetration.
- The Prep (15 Minutes): Trimming silver skin with a sharp boning knife and applying the rub.
- The Roast (60 to 90 Minutes): This varies based on the thickness of the cut and your desired level of doneness.
- The Rest (20 to 30 Minutes): This is where the magic happens. Do not touch that bench scraper yet; the juices need time to redistribute.
The Masterclass
1. The Tempering Phase
Before the beef even sees a flame, it must reach room temperature. Cold meat causes the muscle fibers to contract violently when exposed to heat, resulting in a tough, "grey-banded" interior. By tempering, you ensure the thermal gradient is shallow, leading to an edge-to-edge pink center.
Pro Tip: This is actually a lesson in thermal equilibrium. By reducing the temperature delta between the meat and the grill, you minimize the risk of the exterior overcooking before the center reaches its target.
2. The Dry Brine
Apply your salt-heavy rub at least an hour before grilling. The salt draws moisture out through osmosis, dissolves into a concentrated brine, and is then reabsorbed into the meat. This seasons the roast deeply and denatures the proteins for a more tender bite.
Pro Tip: This process involves denaturation, where the salt unravels the tightly wound protein strands. This allows them to hold onto more water during the cooking process, resulting in a juicier roast.
3. Setting the Two-Zone Fire
Your grill needs a hot zone and a cool zone. Place your charcoal or turn on burners on only one side. This allows you to roast the beef with indirect heat, mimicking an oven, while retaining the ability to sear at the end. Use your tongs to position the meat on the cool side, away from the direct flames.
Pro Tip: Indirect cooking utilizes convection. The air circulates around the meat, cooking it slowly and evenly without scorching the delicate surface fats.
4. The Low and Slow Roast
Close the lid and maintain a grill temperature of 225 to 250 degrees Fahrenheit. Use a remote probe thermometer to monitor the internal temperature. You are aiming for about 10 degrees below your final target (e.g., pull at 120 degrees for a 130 degree medium-rare finish).
Pro Tip: This slow rise in temperature prevents collagen contraction. When beef is heated too quickly, the connective tissues squeeze out moisture like a wrung-out sponge.
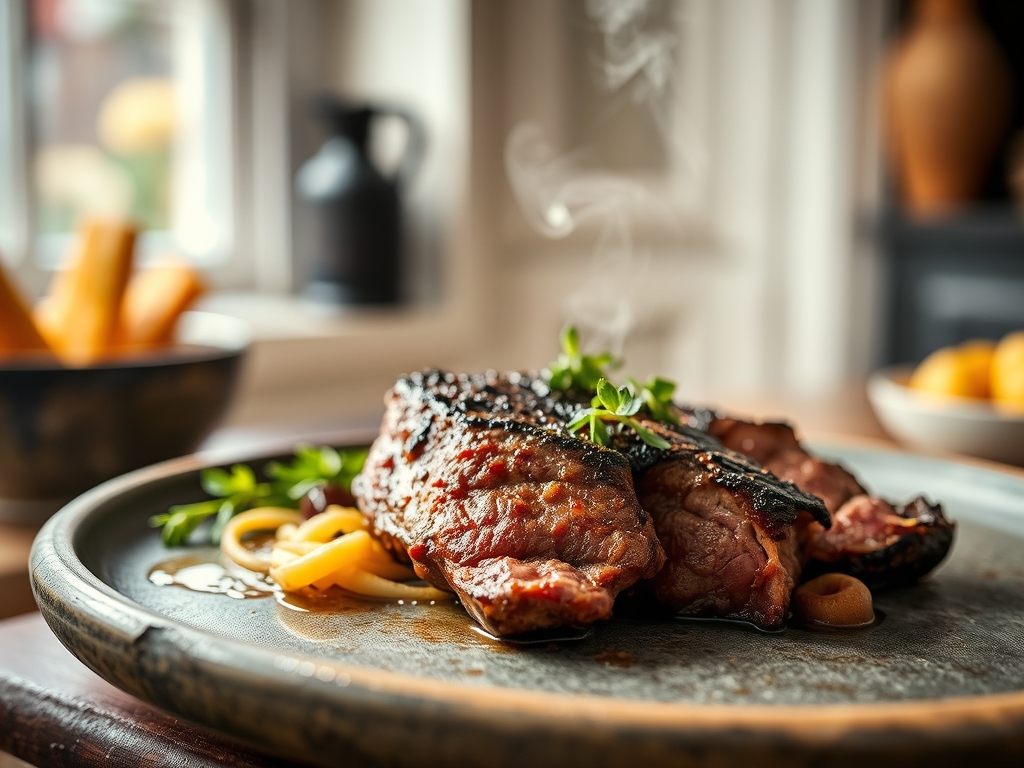
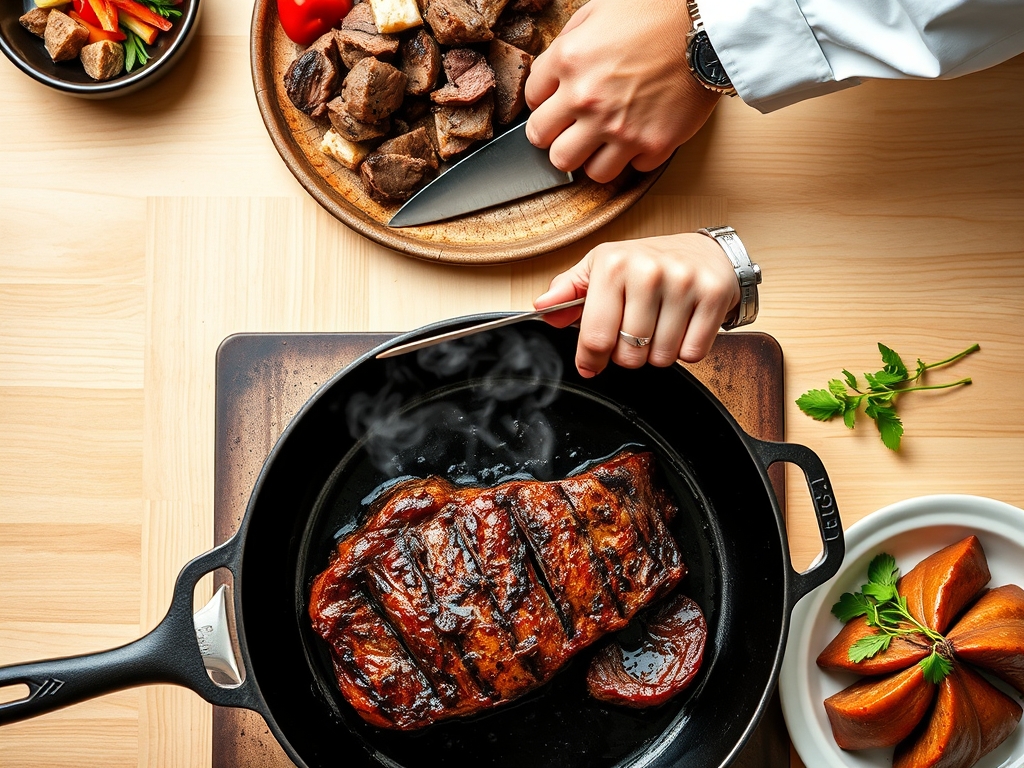
5. The Reverse Sear
Once the roast reaches its target internal temperature, move it directly over the high-heat zone. Use your heavy-bottomed skillet on the grates if you want a crust that covers every square millimeter. Sear for 2 minutes per side until a dark, crusty bark forms.
Pro Tip: This is the Maillard reaction in its purest form. Amino acids and reducing sugars react under high heat (above 300 degrees) to create hundreds of new flavor compounds and that signature "grilled" aroma.
6. The Aromatic Infusion
During the final minutes of the sear, toss a bunch of rosemary and thyme onto the coals or into a cast iron pan with a knob of butter. Use a spoon to baste the meat with this infused fat. This adds a final layer of olfactory complexity.
Pro Tip: Fat is a flavor carrier. Many of the aromatic compounds in herbs are fat-soluble, meaning they need a lipid medium to effectively transfer their essence onto the surface of the meat.
7. The Strategic Rest
Transfer the roast to a warm cutting board. Tent it loosely with foil; do not wrap it tightly or you will steam the crust you worked so hard to build. Let it sit for at least 20 minutes.
Pro Tip: This allows for liquid reabsorption. As the meat cools slightly, the internal pressure drops, allowing the juices to move from the center back toward the edges. If you cut it too soon, the juice will end up on the board instead of in your mouth.
8. The Precision Slice
Using a long, sharp carving knife, slice against the grain. Look for the direction the muscle fibers are running and cut perpendicular to them. This shortens the fibers, making the meat feel significantly more tender as you chew.
Pro Tip: This is a matter of mechanical advantage. By cutting the long, elastic muscle fibers into short segments, you are doing the work for your teeth, ensuring every bite is "melt-in-your-mouth" soft.
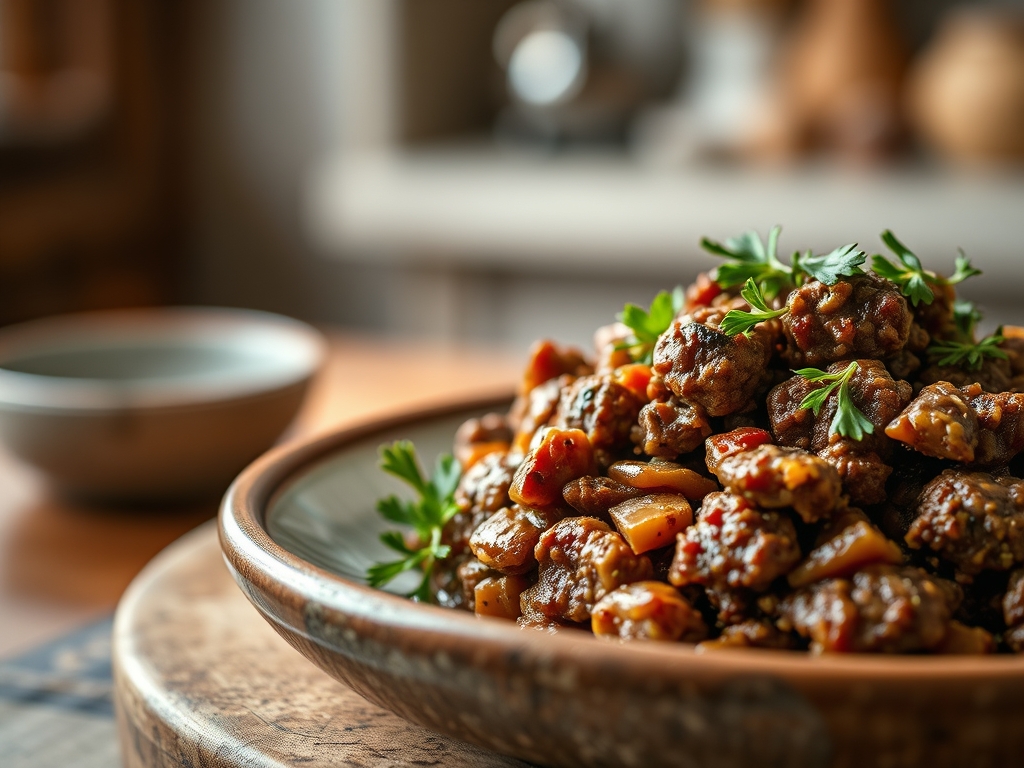
The Deep Dive
From a nutritional standpoint, grilled roast beef is a powerhouse. It is exceptionally high in bioavailable iron, B12, and zinc. A 4-ounce serving typically contains about 250 calories and 30 grams of protein, making it a staple for muscle recovery and metabolic health.
Dietary Swaps:
- Keto: This recipe is naturally keto-friendly. Serve with a tallow-based chimichurri.
- Vegan: While you cannot "grill" a cow-free roast in the same way, a large, marinated head of cauliflower or a seitan-based "roast" can be treated with the same two-zone fire technique.
- Gluten-Free: Ensure your dry rub does not contain anti-caking agents derived from grain.
The Fix-It:
- Problem: The meat is grey and dry. Fix: You skipped the rest period or the temp was too high. Next time, use a digital probe to pull the meat earlier.
- Problem: The exterior is burnt but the inside is raw. Fix: Your fire was too hot. Use the indirect zone for 90 percent of the cook.
- Problem: The rub won't stick. Fix: Pat the meat bone-dry with paper towels before applying a thin binder like Dijon mustard or oil.
Meal Prep Science:
To reheat without losing quality, do not use the microwave. The microwave agitates water molecules, "steaming" the beef from the inside and turning it rubbery. Instead, slice the beef cold and place it in a shallow pan with a tablespoon of beef stock. Cover with foil and warm in a 300-degree oven just until the fat begins to glisten. This maintains the emulsification of the juices.
The Wrap-Up
Mastering grilled roast beef recipes is a journey of patience and precision. It is about understanding how heat moves through muscle and how salt transforms texture. When you pull that roast off the grill, smelling of woodsmoke and caramelized proteins, you are not just a cook; you are an alchemist. So, gather your tools, trust your thermometer, and prepare for the best sandwich of your life the next day. You have got this!
The Kitchen Table
What is the best cut for grilled roast beef?
Top round or tri-tip are ideal. They offer a balance of lean protein and enough structural integrity to withstand long cook times. Tri-tip provides more fat marbling, while top round is leaner and better for thin, deli-style slicing.
How do I prevent my roast from getting tough?
Always slice against the grain and never skip the resting period. Resting allows the muscle fibers to relax and reabsorb juices. Additionally, using a low-and-slow indirect heat method prevents the proteins from tightening too quickly and becoming rubbery.
Can I use a gas grill for these recipes?
Absolutely. Simply turn off one or two burners to create an indirect heat zone. You can add a smoker box filled with wood chips over the active burner to mimic the smoky flavor profile of a traditional charcoal grill or wood fire.
How long does leftover roast beef last?
Stored in an airtight container, it stays fresh for three to four days. For the best texture, keep the roast whole and slice only what you need. This prevents the surface area from oxidizing and drying out in the refrigerator.