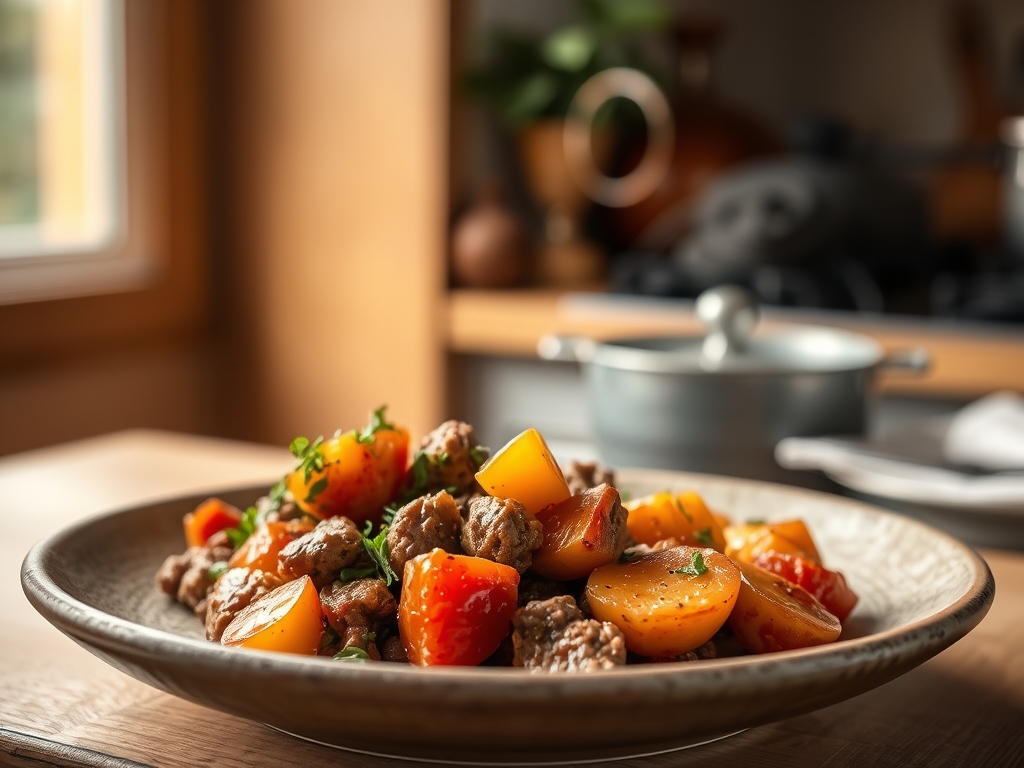
Close your eyes and imagine a kitchen where the air is heavy with the scent of toasted turmeric and the sharp, piquant sting of scotch bonnet peppers. This is the heart of the island; a place where jamaican curry beef recipes transform humble cuts into liquid gold. We are not just making a stew today. We are orchestrating a chemical symphony where collagen melts into gelatin and spices undergo a thermal metamorphosis to create a sauce so rich it coats the back of a spoon like velvet.
The secret to a truly authentic curry lies in the patience of the cook and the precision of the heat. Most people rush the process; they throw cold meat into a lukewarm pot and wonder why their sauce lacks depth. We are going to avoid that amateur pitfall. By understanding the molecular transition of the beef and the volatile oil release of the spices, you will produce a dish that tastes like it has been simmering for generations. Grab your apron and your favorite heavy-bottomed skillet; we are about to dive deep into the science of soul food.
The Gathers:
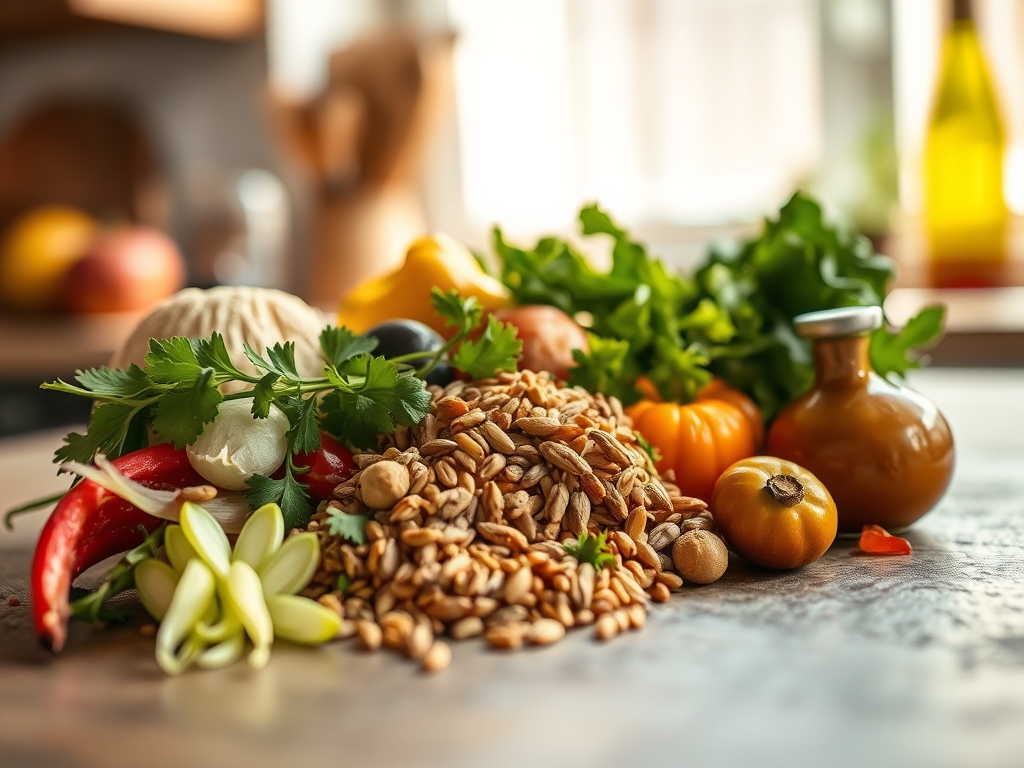
To achieve a professional-grade result, your mise-en-place must be flawless. Start with three pounds of chuck roast, cubed into uniform one-inch pieces. Chuck is essential because its high connective tissue content provides the necessary collagen for a viscous gravy. You will need a high-quality Jamaican curry powder; look for brands that list pimento (allspice) and fenugreek as primary aromatics.
The aromatic base requires a microplane for your ginger and garlic to ensure they dissolve into the emulsion rather than leaving gritty textures. Use a bench scraper to gather your finely diced scallions, thyme sprigs, and yellow onions. For the heat, one whole scotch bonnet is traditional; keep it whole to infuse the capsaicin without the searing heat of the seeds.
Smart Substitutions: If you cannot find scotch bonnets, use two habanero peppers for a similar floral heat profile. For a leaner profile, you can use bottom round, though you must increase the simmering time by twenty percent to compensate for the lack of intramuscular fat. If you are avoiding nightshades, swap the white potatoes for diced chayote (cho-cho) to maintain that characteristic starch-thickened texture.
The Clock
Efficiency in the kitchen is about "Chef's Flow." Expect a total prep time of 30 minutes for meticulous dicing and a cook time of approximately two to two and a half hours. The first 15 minutes are high-intensity, involving the searing of the meat and the blooming of the spices. The remaining time is passive; a slow, low-temperature simmer where the heavy lifting happens at a molecular level.
The Masterclass
1. The Dry Brine and Infusion
Toss your beef cubes with a tablespoon of curry powder and sea salt at least an hour before cooking. This allows the salt to penetrate the muscle fibers via osmosis, seasoning the meat from the inside out.
Pro Tip: This step utilizes denaturation. The salt breaks down the protein structures, allowing the meat to retain more moisture during the long braising process, preventing the "stringy" texture often found in rushed stews.
2. Burning the Curry
Heat high-smoke-point oil in your pot until it shimmers. Add two tablespoons of curry powder directly to the hot oil for sixty seconds before adding the meat. This is a traditional technique known as "burning the curry."
Pro Tip: This is a form of thermal blooming. High heat releases the fat-soluble essential oils in the spices, particularly the curcumin in turmeric, which creates a more complex and earthy flavor profile than adding spices to liquid.
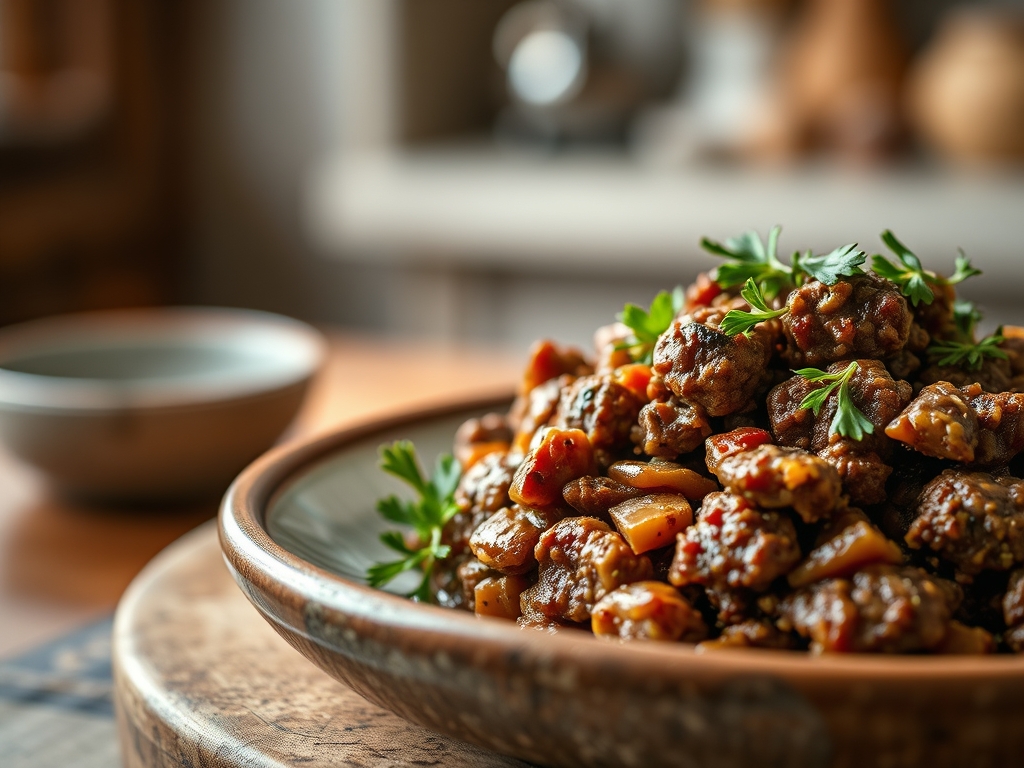
3. The Maillard Reaction
Add the beef in batches to avoid crowding the pan. Use tongs to turn each piece until a deep brown crust forms on all sides. Do not rush this; the brown bits at the bottom of the pot are flavor concentrate.
Pro Tip: This is the Maillard Reaction. When amino acids and reducing sugars are heated, they create hundreds of new flavor compounds. Without this step, your curry will taste flat and "boiled."
4. Deglazing the Fond
Once the meat is browned, remove it and add your onions and garlic. Use a wooden spoon to scrape the caramelized bits (the fond) from the bottom of the pot as the onions release their moisture.
Pro Tip: This process is called deglazing. The moisture from the aromatics acts as a solvent, lifting the concentrated proteins into the base of your sauce for maximum umami depth.
5. The Low and Slow Braise
Return the meat to the pot and add just enough beef stock or water to cover the surface. Add your whole scotch bonnet and thyme. Reduce the heat to a bare simmer; you want only occasional bubbles breaking the surface.
Pro Tip: Maintaining a low temperature prevents protein tightening. If the liquid boils, the muscle fibers will contract violently and squeeze out all their moisture, resulting in tough, dry meat.
6. The Starch Thickening
In the final forty-five minutes, add your cubed potatoes. As they cook, they will release starches into the braising liquid.
Pro Tip: This creates a natural emulsion. The starch granules swell and burst, absorbing the fat and liquid to create a thick, glossy sauce without the need for a flour-based roux.
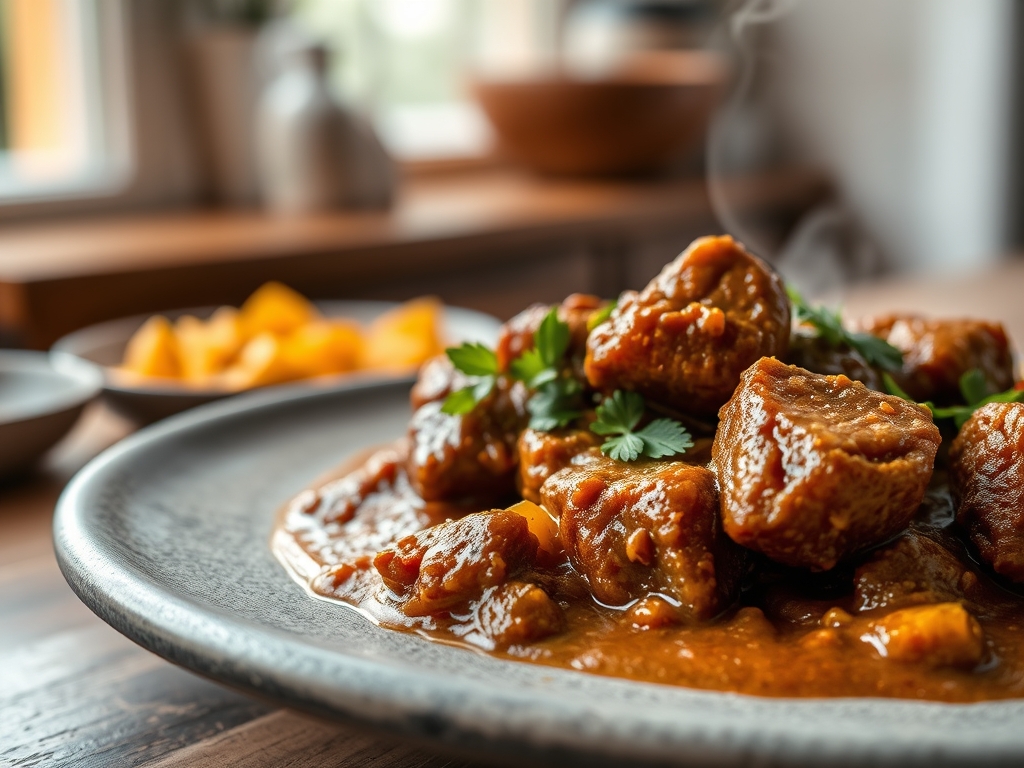
7. Aerating the Final Sauce
Once the beef is fork-tender, remove the lid and increase the heat slightly to reduce the liquid if it appears too thin. Use a saucier or a large spoon to gently stir and aerate the sauce.
Pro Tip: Reduction concentrates the flavors and increases the viscosity. Aerating the sauce at the end helps incorporate the rendered fats back into the liquid for a silky mouthfeel.
8. The Acid Balance
Just before serving, stir in a teaspoon of fresh lime juice or apple cider vinegar. This is the "secret" that brightens the entire dish.
Pro Tip: Adding acid provides a flavor contrast. It cuts through the heavy fats and earthy spices, highlighting the higher notes of the ginger and pimento for a balanced palate.
9. The Resting Period
Turn off the heat and let the pot sit for ten minutes before serving. This allows the internal temperature of the beef to stabilize.
Pro Tip: This utilizes thermal carryover. Resting allows the muscle fibers to relax and reabsorb some of the flavorful juices from the pot, ensuring every bite is succulent.
The Deep Dive
From a nutritional standpoint, jamaican curry beef recipes are high in protein and iron. A standard serving contains roughly 450 calories, with 35 grams of protein and 20 grams of fat. To make this Keto-friendly, simply omit the potatoes and use cauliflower florets added in the last ten minutes. For a Vegan version, swap the beef for extra-firm pressed tofu or seitan and use vegetable stock.
The Fix-It:
- Too Salty? Drop in a raw, peeled potato for ten minutes to absorb excess sodium, then discard it.
- Too Spicy? Stir in a tablespoon of coconut milk or heavy cream to encapsulate the capsaicin molecules and dull the burn.
- Too Thin? Mash one of the cooked potato cubes directly into the sauce to act as an instant thickener.
Meal Prep Science: This curry actually tastes better on day two. As it cools, the aromatic compounds continue to meld and the gelatin sets. When reheating, use a low heat and add a splash of water to loosen the collagen. Avoid the microwave if possible; a stovetop reheat preserves the texture of the beef.
The Wrap-Up
Mastering jamaican curry beef recipes is a rite of passage for any serious home cook. It requires a blend of patience, scientific precision, and a willingness to let the ingredients speak for themselves. By focusing on blooming your spices and respecting the slow braising process, you turn a simple meal into a legendary feast. Now, serve this over a bed of fluffy white rice and watch as your friends realize they have never actually had "real" curry until now.
The Kitchen Table
How do I make my beef extra tender?
The key is the "low and slow" method. Simmering at a low temperature allows the tough collagen to slowly transform into silky gelatin without drying out the muscle fibers. Never let the pot reach a rolling boil.
Can I use a slow cooker for this?
Yes, but you must sear the meat and bloom the spices in a pan first. Transfer everything to the slow cooker and cook on low for 6 to 8 hours for the best flavor development.
Why is my curry sauce grainy?
Graininess usually happens if you add cold spices to a finished sauce or if your garlic and ginger weren't finely minced. Always bloom spices in hot oil and use a microplane for your aromatics to ensure a smooth texture.
What is the best beef cut to use?
Chuck roast is the gold standard. It has the perfect ratio of fat to connective tissue, which melts down during the long simmer to create a naturally thick and rich gravy that leaner cuts cannot replicate.