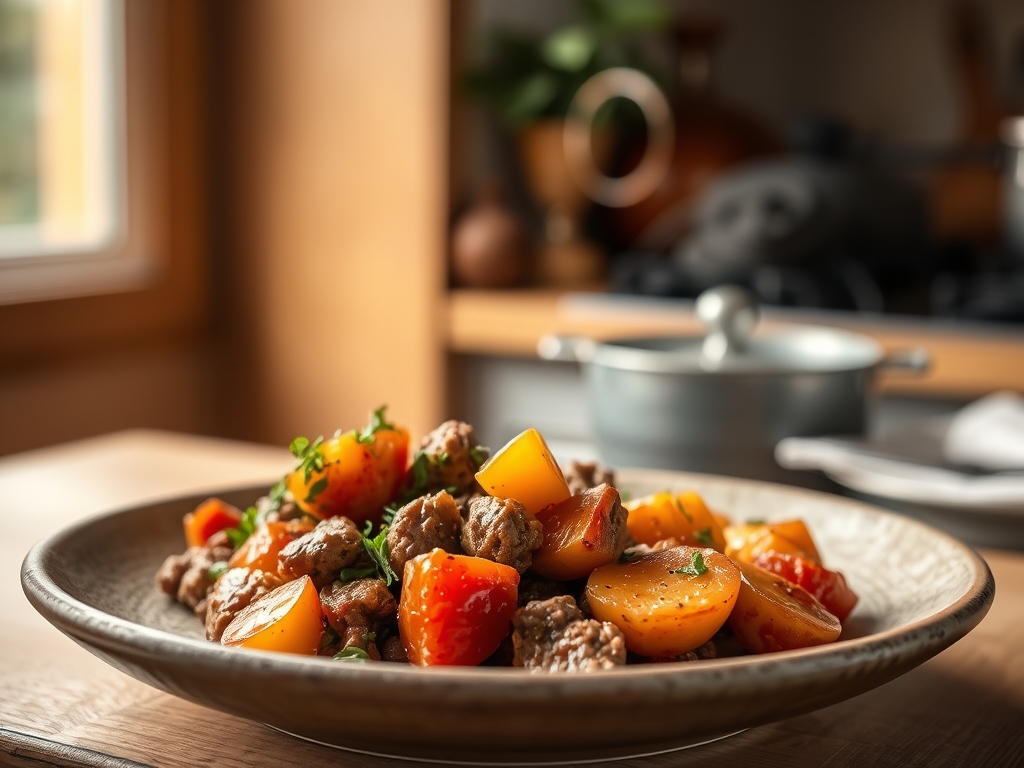
The scent of toasted cumin and rendered fat is currently performing a private concert in my kitchen; it is the olfactory equivalent of a warm hug from a very smart friend. When you dive into the world of stewing beef recipes curry, you are not just making dinner; you are conducting a complex chemical symphony. We are moving far beyond the watery, grey cubes of your school cafeteria days. Instead, we are aiming for that sublime, fork-tender texture where the connective tissue has completely surrendered into a rich, velvety sauce. This is the ultimate comfort food for the curious cook; it is a dish that rewards patience with deep, piquant complexity and a mouthfeel that only collagen-rich cuts can provide.
The Gathers:
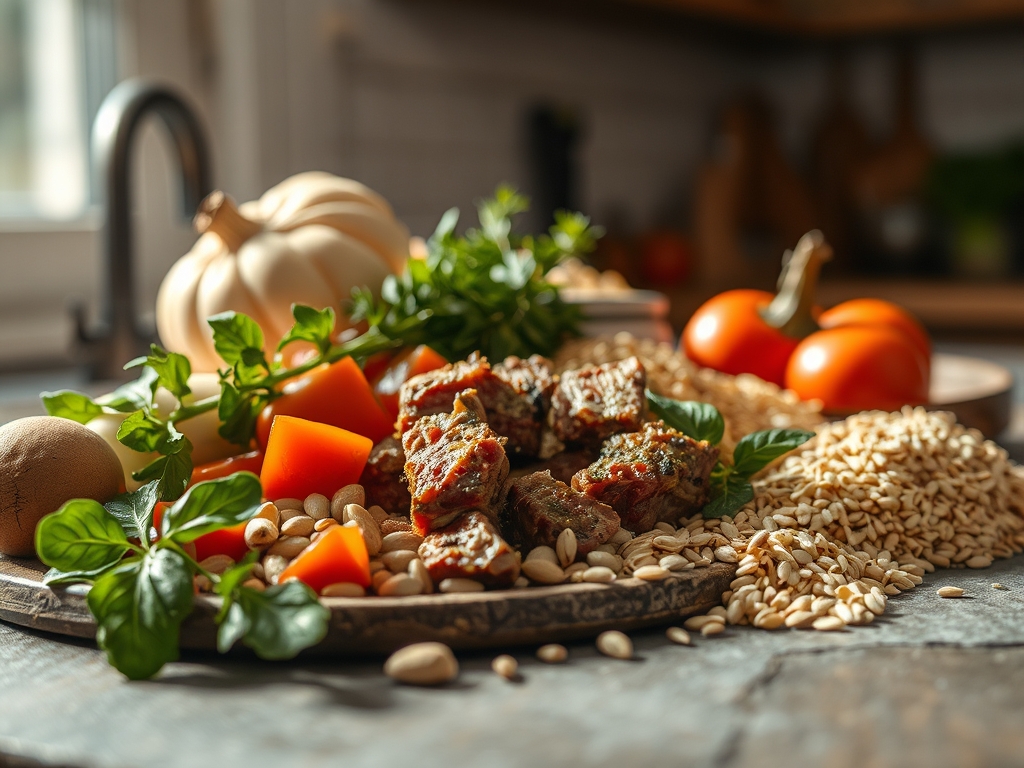
Before we ignite the burner, let us assemble our mise-en-place with clinical precision. You will need two pounds of high-quality stewing beef, preferably chuck or brisket. These cuts are loaded with intramuscular fat and connective tissue. Look for deep marbling; this is your insurance policy against dryness. You will also need two large yellow onions (finely diced to ensure they melt into the base), four cloves of garlic, and a two-inch knob of ginger. For the spice profile, gather whole cumin seeds, coriander, turmeric, and a high-quality garam masala.
Use a microplane for the ginger and garlic to create a fine paste that integrates seamlessly. Your liquid gold will be a combination of full-fat coconut milk and a splash of beef bone broth for depth. If you are missing an ingredient, consider these Smart Substitutions: swap coconut milk for Greek yogurt for a tangier finish, or use a dash of soy sauce if you lack salt but want to boost the umami profile. Always use a digital scale for your spices if you want consistent, professional-grade results every single time.
The Clock:
Mastering the "Chef's Flow" is about managing energy, not just time. Total preparation takes roughly 30 minutes, while the active simmering requires a patient two to three hours. Do not rush this process. The first 15 minutes are high-intensity; you are searing and building the flavor base. Once the lid goes on, the workload drops significantly. Use the long simmer time to tidy your station with a bench scraper and prepare your garnishes. This cadence ensures that by the time the beef has reached peak tenderness, your kitchen is pristine and your palate is ready.
The Masterclass:
1. The Maillard Sear
Pat your beef cubes bone-dry with paper towels. Heat a heavy-bottomed skillet or Dutch oven over medium-high heat with a high-smoke-point oil. Use tongs to place the meat in a single layer, ensuring they do not touch. Sear until a deep, dark brown crust forms on at least two sides.
Pro Tip: This is the Maillard Reaction. By keeping the meat dry and the pan hot, you are rearranging amino acids and sugars to create hundreds of new flavor compounds that simply do not exist in boiled meat.
2. The Allium Foundation
Remove the beef and add your diced onions to the residual fat. Lower the heat and cook until they are translucent and starting to caramelize. Use a wooden spoon to deglaze the bottom of the pan, scraping up all those flavorful brown bits (the fond).
Pro Tip: Onions contain sulfur compounds that mellow and sweeten as they break down. This creates a viscous base that acts as a natural thickener for your curry sauce later.
3. Blooming the Aromatics
Push the onions to the side and add your ginger, garlic, and whole spices to the center. Toast them for exactly sixty seconds until they become incredibly fragrant.
Pro Tip: Spices are fat-soluble. Blooming them in hot oil releases essential oils and fat-soluble flavor molecules that water-based simmering alone cannot extract.
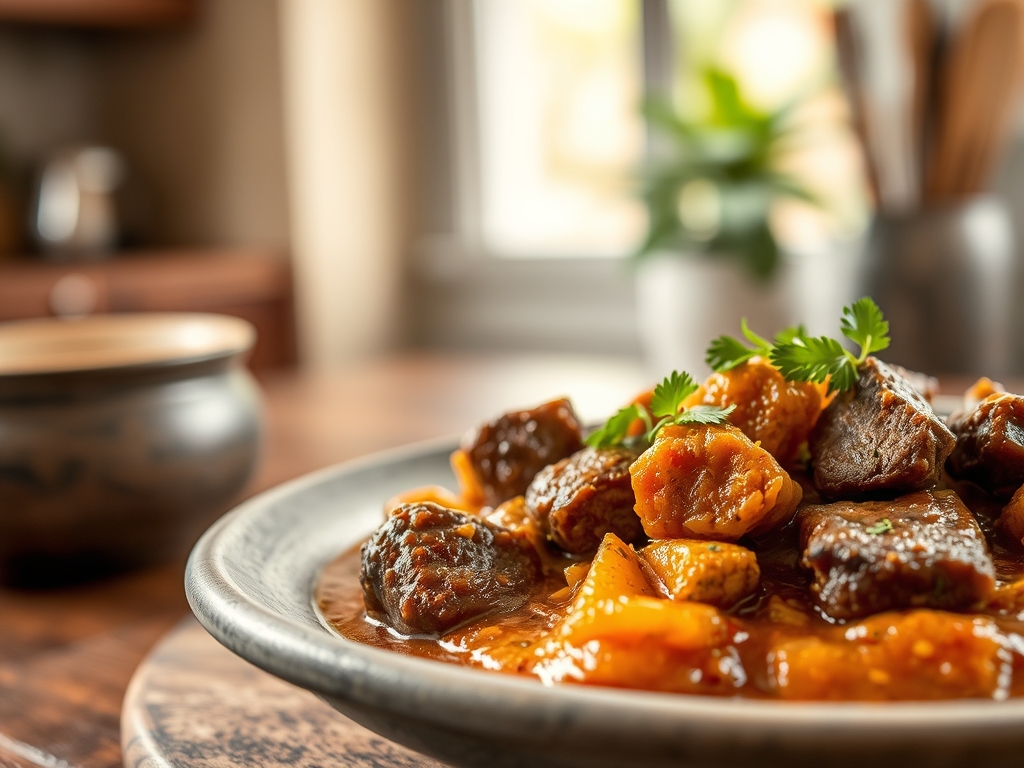
4. The Liquid Marriage
Return the beef to the pan along with any accumulated juices. Pour in your bone broth and coconut milk. Bring the mixture to a gentle boil, then immediately reduce to the lowest possible simmer.
Pro Tip: A low simmer prevents the muscle fibers from tightening too quickly. Maintaining a temperature just below boiling ensures the collagen converts to gelatin without toughening the protein.
5. The Long Breakdown
Cover the pot with a tight-fitting lid. Let it cook undisturbed for two hours. Check the meat periodically; it should offer no resistance when pressed with a spoon.
Pro Tip: This is the phase of hydrolytic breakdown. The tough triple-helix structure of collagen literally melts into gelatin, providing that signature "melt-in-your-mouth" texture and a rich mouthfeel.
6. The Emulsification Finish
Once the beef is tender, remove the lid. If the sauce is too thin, increase the heat slightly to reduce the liquid. Stir in your garam masala and a squeeze of lime juice at the very end.
Pro Tip: The acidity in the lime juice acts as a chemical "brightener." It cuts through the heavy fats and balances the pH of the dish, making the individual spice notes pop on your tongue.
The Deep Dive:
Nutritionally, this dish is a powerhouse of bioavailable iron, zinc, and B12. A standard serving contains approximately 35g of protein and 22g of healthy fats. For those with dietary restrictions, this recipe is naturally Gluten-Free. To make it Keto, ensure your coconut milk has no added sugars. For a Vegan swap, replace the beef with hearty chunks of portobello mushrooms or seitan, though you will need to reduce the simmer time significantly.
If you encounter a "Fix-It" moment, do not panic. If the curry is too salty, add a peeled, halved potato to soak up the excess sodium. If it is too thin, whisk a teaspoon of cornstarch with cold water and stir it in. If the spices feel "flat," add a pinch of sugar or honey to bridge the flavor gap. For Meal Prep, remember that curry actually improves on day two. As it cools, the flavors continue to infuse and the gelatin sets. Reheat it slowly in a saucier with a tablespoon of water to restore its original silky consistency.
The Wrap-Up:
There you have it; the science of the perfect stewing beef recipes curry laid bare. You are now equipped to transform humble, tough cuts of meat into a masterpiece of culinary chemistry. Remember that the best kitchen tool you own is your own palate. Taste as you go, trust the simmer, and do not be afraid to let those spices bloom. Your kitchen is now a laboratory of flavor; go forth and create something magnificent.
The Kitchen Table:
Why is my stewing beef still tough after two hours?
The heat was likely too high or the cut lacked enough connective tissue. Ensure you maintain a low, gentle simmer. If it is still tough, simply keep simmering; some stubborn cuts require an extra thirty to forty-five minutes to fully tenderize.
Can I use a slow cooker for this curry recipe?
Yes, but you must sear the beef and bloom the spices in a pan first. Transfer everything to the slow cooker and cook on low for six to eight hours. This ensures you do not lose those essential Maillard flavor compounds.
How do I make the curry sauce thicker without flour?
The best way is reduction. Simmer the sauce with the lid off for the final twenty minutes. Alternatively, blend a small portion of the cooked onions and sauce, then stir it back in to create a thicker, more cohesive texture naturally.
What is the best way to store and reheat leftovers?
Store in an airtight container for up to four days. Reheat on the stove over low heat, adding a splash of water or broth. This prevents the fats from separating and maintains the delicate emulsion of the coconut milk and spices.